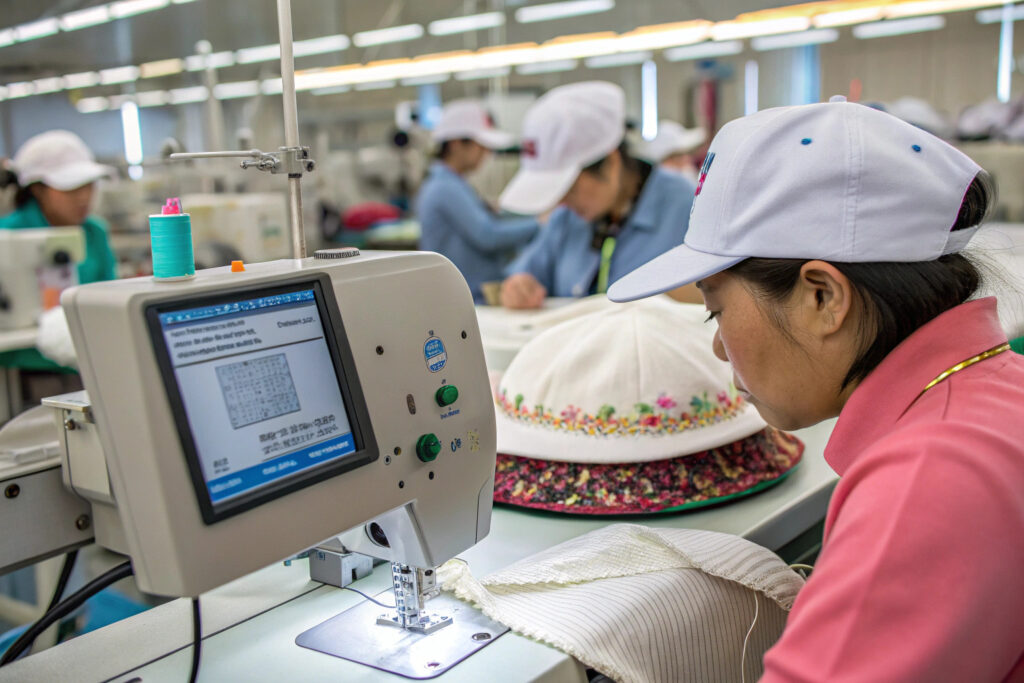
You open the carton of custom dad hats. The first cap you pull out has a loose thread dangling from the edge of the embroidery. You pull it. It does not come away cleanly. You cut it, leaving a tiny thread stub. The next cap has the same issue. And the next. You spend an hour trimming threads on 200 caps. Your brand's first impression is a loose thread. The cap itself is fine. The embroidery is the focal point. The loose thread is a distraction that screams "unchecked quality." The factory shipped the caps. They did not finish them.
Loose threads around custom dad hat embroidery are caused by inadequate trimming after the embroidery process, thread breaks during embroidery that were not properly repaired, incorrect thread tension settings that leave loose loops on the surface or underside, or a backing material that was not cleanly removed. The embroidery machine operates at high speed. Thread breaks happen. A loose thread is not a machine failure. It is a finishing failure. The factory's embroidery operator should trim every cap after embroidery. The QC inspector should check every cap under a light. A cap that arrives with loose threads passed through two hands that did not do their job.
At Global-Caps, every embroidered cap passes through a trimming station after the embroidery machine. The trimmer uses curved thread snips and a bright inspection light. The QC inspector checks the trimmed cap. A loose thread is a QC reject. The fix is simple. The discipline is the difference.
What Causes Thread Breaks During the Embroidery Process on Caps?
You see a loose thread on the embroidery. You assume the thread was not trimmed. You are partially right. The thread is loose because it broke during the embroidery cycle. The machine continued stitching after the break. The broken end was not properly secured. The operator re-threaded the machine and restarted, but did not remove the loose tail from the area where the break occurred. The loose thread is a remnant of a mid-stitch failure.
Thread breaks during the embroidery process on caps are caused by excessive needle heat due to high-speed stitching, incorrect thread tension settings that overstretch the thread, poor quality thread with weak spots or slubs, a worn or damaged needle that frays the thread, and inadequate thread lubrication. The curved surface of a cap crown increases the friction on the thread because the fabric is stretched over the hoop. Thread breaks are more common on caps than on flat garments.
My embroidery thread is continuous filament polyester with a silicone lubricant finish. The needle is changed every 8 hours of run time. The thread tension is calibrated daily.
Needle heat is the most common mechanical cause of thread breaks on high-speed embroidery machines.
How Does Needle Heat Cause Thread to Snap on High-Speed Machines?
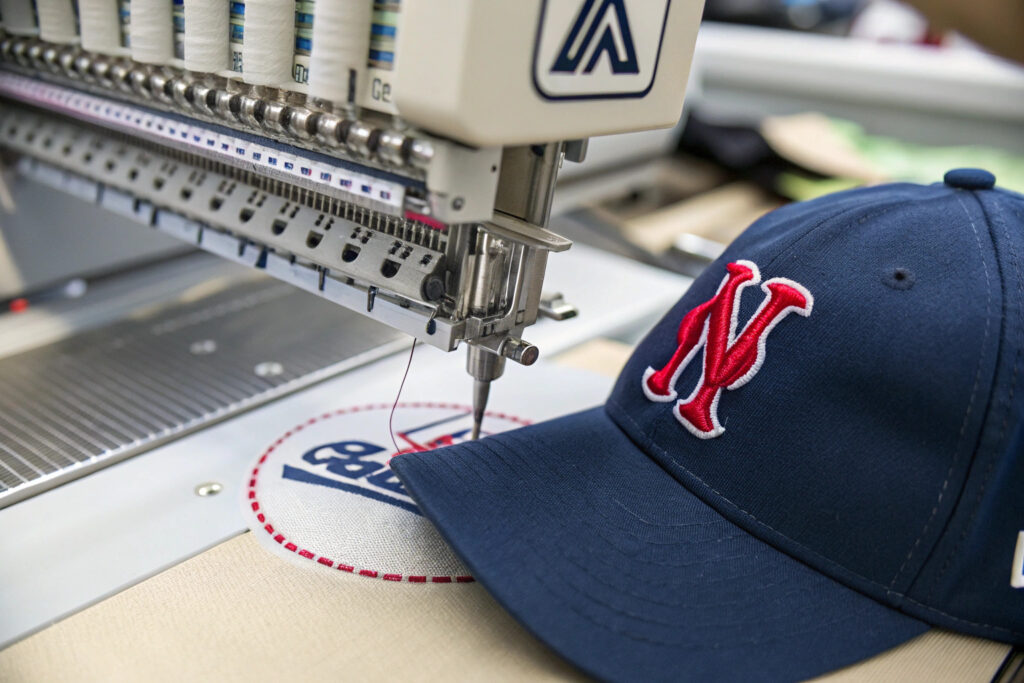
An embroidery machine needle penetrates the fabric at speeds of up to 1,000 stitches per minute. The friction between the needle and the fabric generates heat. The needle temperature can reach 200 to 300 degrees Celsius at the point of penetration. Polyester thread melts at approximately 260 degrees Celsius. A needle running hot can melt the thread inside the needle eye, causing it to snap.
The curved cap surface increases friction because the fabric is under tension on the hoop. The needle is punching through a stretched, dense material. The heat buildup is more intense than on flat fabric.
My needle protocol uses titanium-coated needles that dissipate heat faster than standard needles. The machine speed is reduced by 10 percent for cap embroidery compared to flat embroidery.
Why Does Improper Thread Tension Leave Visible Loose Loops?
Thread tension is the balance between the top thread from the cone and the bobbin thread from below. If the top tension is too loose, the top thread forms loops on the underside of the embroidery. If the top tension is too tight, the bobbin thread is pulled to the top surface, creating visible loops. If the tension fluctuates during the stitch cycle, random loops appear on either surface.
The correct tension produces a lock stitch where the top thread and bobbin thread interlock in the middle of the fabric. The stitch is flat and secure. The tension must be adjusted for each thread type and each fabric.
My tension calibration is performed at the start of every shift and recorded in the machine log.
Why Is the Trimming Step Critical and Often Rushed in Bulk Production?
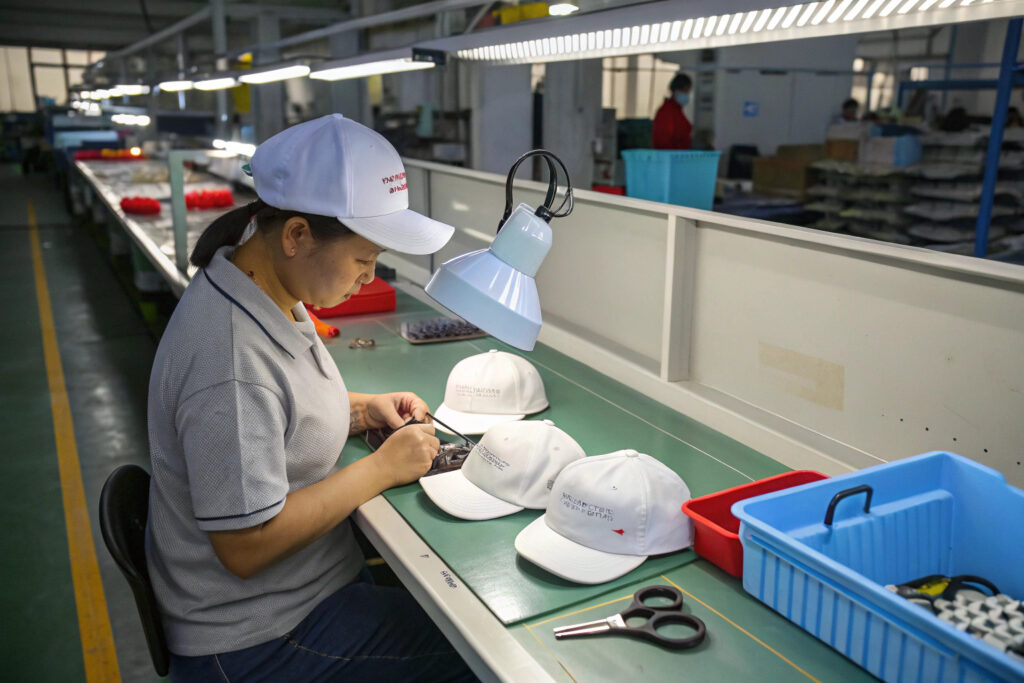
You assume embroidery is the final step. The machine stops. The cap is done. It is not. The cap is sewn. It is not finished. The trimming step is the manual process of inspecting the embroidered logo, cutting away the loose thread tails from thread changes and tie-offs, and removing any visible backing material. The trimming step is labor-intensive. It takes time. It costs money. A factory racing to meet a shipping deadline will reduce the trimming time per cap. The caps get a quick glance and a rough snip. The loose threads survive.
The trimming step is critical because the embroidery machine leaves thread tails at every color change, every tie-off, and every thread break repair. These tails are part of the normal embroidery process. They must be removed manually after the machine cycle. The step is often rushed in bulk production because it is the last manual operation before packing, the shipping deadline is looming, and trimming quality is harder to inspect at a glance than embroidery placement. A factory that prioritizes on-time delivery over quality will ship caps with loose threads.
My trimming standard operating procedure allocates 60 seconds per cap for trimming. The shipping deadline does not override the trimming standard.
The trimming tool quality and the inspection lighting are the two enablers of effective trimming.
What Is the Difference Between a Tie-Off Stitch and a Loose Thread Tail?
A tie-off stitch is a series of small, tightly packed stitches sewn at the beginning and end of an embroidery element. The tie-off secures the thread so the embroidery does not unravel. The machine cuts the thread close to the tie-off, leaving a very short tail that is nearly invisible.
A loose thread tail is the excess thread that remains after the machine cuts the thread at a color change or at the end of the design. The machine's automatic thread cutter does not cut flush with the fabric. A tail of 3 to 10 millimeters remains. The tail must be trimmed manually. A tie-off that was not properly sewn, or a thread break that was not properly secured, leaves a longer, looser tail that can unravel if pulled.
My embroidery digitizing includes tie-off stitches at every element start and end. The machine's thread cutter is calibrated to minimize the tail length.
How Does the Choice of Backing Material Affect Thread Cleanliness?
The backing material stabilizes the fabric during embroidery. A tear-away backing is removed after embroidery by tearing it away from the back of the stitches. The tearing action can pull on the stitches, loosening the thread tension and creating small loops on the surface. Residual backing fragments caught under the stitches are visible as white flecks.
A cut-away backing is trimmed with scissors after embroidery, leaving the backing in place behind the stitches. The cutting action is cleaner. No pulling occurs. The thread stays tight. The backing edge is clean. Cut-away backing produces a cleaner finished embroidery than tear-away backing.
I use cut-away backing for all custom dad hat embroidery. The backing is trimmed close to the stitches. The result is clean.
How Does the QC Process Catch Loose Threads Before Shipping?
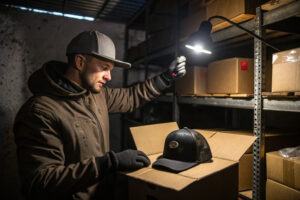
The factory has a QC inspector. The inspector checks the caps. You still receive caps with loose threads. The inspector is checking the embroidery placement, the color, and the overall appearance. They are checking at arm's length, under ambient factory lighting. A loose thread tail lying flat against the embroidery is invisible at arm's length under ambient light. The inspector missed it because the inspection conditions were inadequate. The QC process existed. The QC process was ineffective.
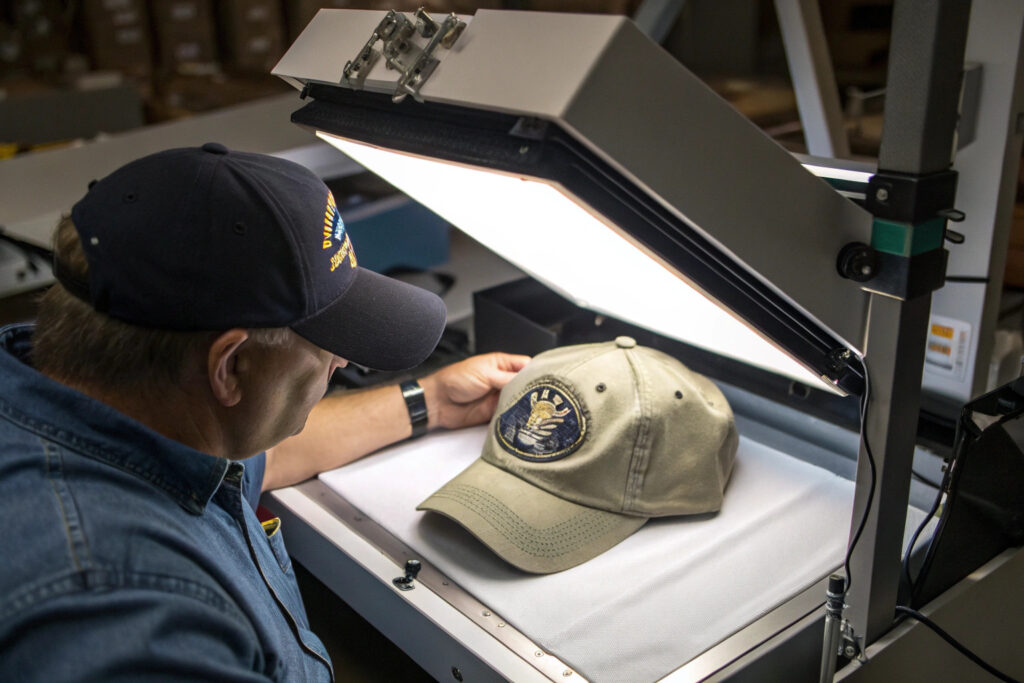
The QC process catches loose threads before shipping by using an angled inspection light that creates shadows, making loose threads stand out from the fabric surface. The inspector holds the cap at multiple angles, checking both the surface and the underside of the embroidery. A final trimming pass is performed at the QC station, not just at the embroidery machine. The inspector uses a pair of thread snips to remove any remaining tails. The cap is only passed when no loose threads are visible under the inspection light.
My embroidery QC protocol requires an angled inspection light, a 100 percent visual check of every cap, and a final trim at the QC station.
The angled light is the critical piece of equipment. Loose threads lie flat and are invisible under direct overhead light.
Why Is an Angled Inspection Light Necessary to Spot Loose Threads?
An overhead light shines directly down on the embroidery. Loose threads that lie flat against the fabric reflect light at the same angle as the fabric. They blend in. They are invisible.
An angled light shines across the embroidery surface at a low angle, typically 30 to 45 degrees. The light catches the edge of a loose thread. The thread casts a shadow. The shadow is visible to the inspector. The angled light reveals what the overhead light hides.
My QC inspection station uses a combination of overhead D65 daylight and an adjustable angled task light.
Should Every Cap Be Inspected or Only a Random Sample for Embroidery Defects?
For embroidery finish quality, including loose threads, a 100 percent visual inspection is standard. Every cap is checked. The inspection is fast—15 to 30 seconds per cap—but it is comprehensive. Loose threads are a cosmetic defect that is immediately visible to the consumer. A single cap with loose threads in a retail display can cause a customer to reject the entire brand.
AQL sampling is used for measurement-based quality checks—dimensions, color, functionality. Visual cosmetic defects are screened at 100 percent. The cost of a customer finding a loose thread is higher than the cost of inspecting every cap.
My inspection protocol specifies 100 percent visual inspection for cosmetic defects, including loose threads, stains, and placement errors. AQL sampling is used for dimensional and functional checks.
What Can You Specify in Your Purchase Order to Prevent Loose Thread Embroidery?
You send a purchase order. It specifies the cap style, the fabric, the color, and the logo placement. It does not specify the embroidery finish quality. The factory produces to the specifications you provided. You did not provide an embroidery finish specification. The factory's standard finish may include minor loose threads. The factory considers the caps acceptable. You consider them defective. The gap is not in the quality. The gap is in the specification.
You specify embroidery finish quality in your purchase order by adding a clause that states the acceptable standard for thread finish, the required backing type, and the inspection criteria. The clause should read: "Embroidery finish: No loose threads, no thread breaks, no visible backing material on the surface. All thread tails to be trimmed flush with the fabric. Cut-away backing to be used. 100 percent visual inspection under angled light required. Caps with loose threads will be rejected at QC and charged back to the supplier." A reference photo of the acceptable finish should be attached.
My purchase order quality clause includes specific embroidery finish standards. The approved pre-production sample sets the visual standard.
The reference photo or the approved sample is the legally binding visual standard, not a verbal description.

What Specific Language Should the PO Include About Embroidery Finish Standards?
The PO should include language such as: "All embroidery must be trimmed flush. No loose thread tails exceeding 2mm in length are acceptable. No thread breaks or skipped stitches are acceptable. No backing material shall be visible on the finished surface. The finished embroidery shall match the approved pre-production sample in stitch quality and cleanliness. Supplier shall perform 100 percent visual inspection of embroidery finish under an angled light source. Any caps not meeting this standard will be rejected and the cost charged back to the supplier."
The language is specific, measurable, and enforceable. The 2mm tolerance gives the inspector an objective standard.
My standard PO terms include this embroidery finish clause. I provide it to clients as a template.
How Can a Reference Photo of an Acceptable Finish Set the Quality Bar?
A reference photo of a properly trimmed, clean embroidery is attached to the purchase order. The photo shows the expected stitch quality, the absence of loose threads, and the clean backing edge. The photo is the visual standard. The factory's QC inspector compares every cap to the photo. The photo removes subjectivity. "Clean finish" means different things to different people. The photo defines it.
The approved pre-production sample serves the same function in physical form. The sample is signed by both parties and retained as the master standard.
My quality reference documentation includes both the reference photo and the signed master sample. The standard is unambiguous.
Conclusion
Loose threads around custom dad hat embroidery are caused by thread breaks during the embroidery process, inadequate manual trimming after embroidery, and QC inspection conditions that fail to reveal the threads. The embroidery machine operates at high speed. Thread breaks are inevitable. The loose thread is not a machine failure. It is a finishing failure. The trimming step and the QC inspection are the two quality gates that must catch and correct the issue before the cap is packed.
You can prevent loose threads by specifying the embroidery finish standard in your purchase order, requiring cut-away backing, mandating 100 percent visual inspection under angled light, and providing a reference photo of the acceptable finish. The specification creates the contractual obligation. The reference photo defines the visual standard.
At Global-Caps, every embroidered cap passes through a dedicated trimming station with an angled inspection light. The trimmer uses curved thread snips. The QC inspector checks every cap. A loose thread is a reject. The purchase order specifies the standard. The pre-production sample sets the visual reference. The caps ship clean.
If your current supplier's embroidery arrives with loose threads, contact my Business Director Elaine. She can provide our embroidery finish specification template, a reference photo of our QC standard, and a pre-production sample demonstrating the expected finish quality. Email Elaine at elaine@fumaoclothing.com. Let's ship caps that are finished, not just sewn.