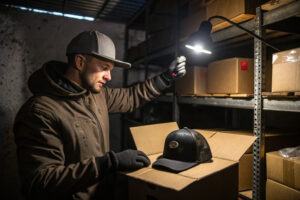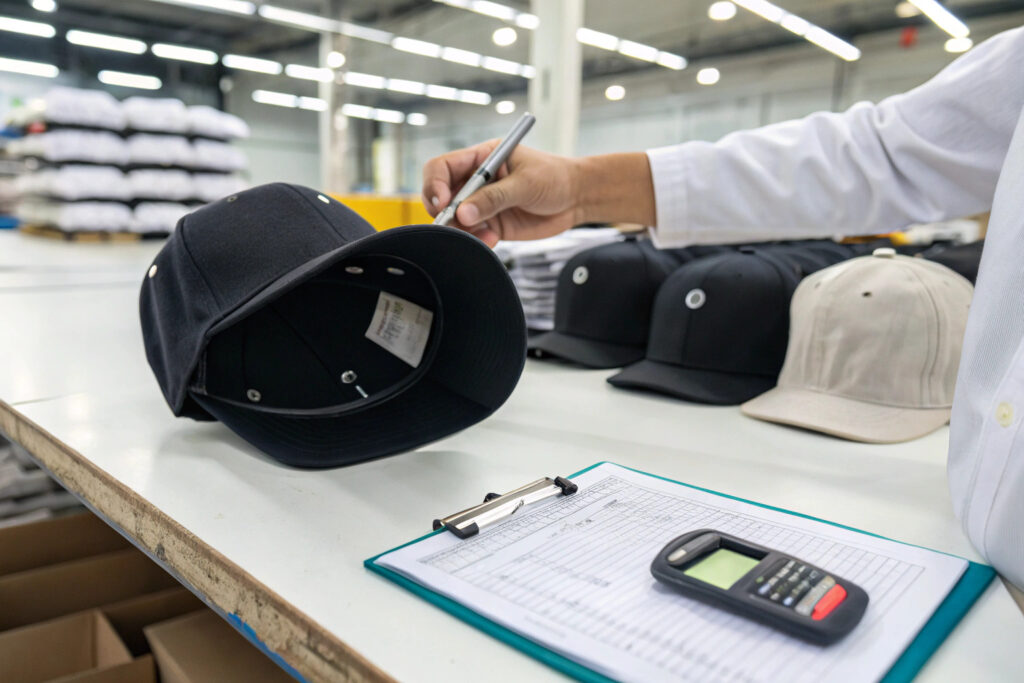
I was standing on a loading dock in Los Angeles seven years ago when I learned the most expensive lesson about stitching defects in my career. We had shipped 15,000 five-panel caps to a major American streetwear brand. The pre-shipment inspection had passed with a 2.5 AQL level. Everything looked fine on paper. But when the brand's warehouse team unloaded the container, they started pulling caps out of cartons, stretching the sweatbands, and the back seam on the closure area was popping open. Not on every cap. Maybe one in thirty. But that was enough. The entire shipment was put on hold. We had to hire a local rework team to resew 5,000 caps at a cost that wiped out the entire margin on the order. The root cause was a stitch tension issue that our inspector had missed because they were checking the front logo and the brim, not the hidden stress points.
Stitching defects in a finished baseball cap are not cosmetic issues. They are structural failures waiting to happen. A cap is a high-tension product. It gets pulled onto a head, stretched over hair, adjusted at the back, and tossed into washing machines. Every seam is under repeated mechanical stress. A defect that looks minor on an inspection table, a skipped stitch here, a loose thread there, will fail catastrophically after a few weeks of actual wear. When you are inspecting a finished cap, you are not just checking if it looks good for a photo. You are verifying that it will survive its intended use without coming apart at the seams.
The inspection must be systematic. You check the crown seams first, then the brim attachment, then the sweatband, then the closure area, and finally the top button and any decorative stitching. Each zone has specific failure modes that are common across hat factories worldwide. Once you know what to look for, you can catch the problems before they leave the factory. I will walk you through the defects that cause the most field failures and how our QC team at Global-Caps identifies them.
How Can I Identify Skipped Stitches and Needle Damage on a Cap Crown Seam?
Skipped stitches are the most common and most dangerous stitching defect in cap manufacturing. A skipped stitch happens when the sewing machine needle fails to interlock with the bobbin thread for one or more cycles. The result is a gap in the seam where the two fabric pieces are not joined. Under tension, that gap becomes a starting point for a seam rupture. The fabric pulls apart, the gap widens, and the hat comes undone. The frustrating thing about skipped stitches is that they are often invisible from the outside when the cap is sitting flat on a table. You have to stretch the seam to see them.
To catch skipped stitches, you need to stress every seam. Do not just look at the cap sitting passively. Grab the crown on either side of the seam and pull gently but firmly, about 5 Newtons of force, roughly the equivalent of pulling a tight hat onto your head. Watch the seam line. If the fabric separates to reveal an empty needle hole with no thread bridging the gap, that is a skipped stitch. Count them. One skipped stitch near the center of a crown panel seam might be acceptable under AQL 2.5 depending on its length. But multiple consecutive skipped stitches are a critical defect because they will cause the seam to open completely during normal wear. The most vulnerable areas are the points where multiple seams intersect, the top button area where six panels converge, and the point where the crown seam meets the brim attachment. These intersections have multiple layers of fabric, and the sewing machine needle can deflect off the thick material, causing a skip.
Needle damage is the companion defect to skipped stitches. When a needle hits thick fabric or a hard buckram layer, it can bend slightly. A bent needle doesn't punch a clean round hole. It punches a jagged tear. That tear weakens the fabric around the stitch. Under tension, the fabric fails at the needle damage point, even if the thread itself holds. Look for enlarged, irregular holes along the stitch line, especially on light-colored fabrics where needle damage is more visible. A needle cut on a critical stress point should be treated as a major defect.
What Causes Skipped Stitches in High-Speed Cap Sewing Lines?
Skipped stitches are not random. They have specific mechanical causes that a good factory controls. The most common cause is incorrect needle-to-hook timing. In a lockstitch machine, the needle descends, the rotary hook spins to catch the needle thread loop, and the two threads interlock. If the hook timing is off by even a fraction of a millisecond, the hook misses the loop, and a skip occurs. High-speed sewing lines push machines to 3,500 or 4,000 stitches per minute. At those speeds, timing drift happens faster. A machine that was perfectly timed in the morning might be slightly off by afternoon due to vibration and heat expansion.
The second cause is the wrong needle size for the fabric stack. A cap crown seam at the front panel intersection might have four layers of twill fabric, a layer of buckram interfacing, and a folded seam allowance. That is a dense sandwich. A size 70 needle, which is fine for lightweight shirting, will deflect badly when it hits that stack. The hook timing expects the needle loop to form at a specific position. A deflected needle shifts that loop position, and the hook misses it. A factory should be using a size 90 or 100 heavy-duty needle for cap crown seams, and they should be changing needles every four hours of continuous production. A dull needle also causes skips because it doesn't pierce cleanly, it drags the fabric down with it, distorting the loop formation.
The third cause is thread tension imbalance. If the needle thread tension is too tight and the bobbin tension is too loose, the needle thread pulls the fabric upward, creating a tight loop formation that the hook can miss. Proper sewing machine maintenance and regular tension checks on sample swatches prevent this. When I walk through a potential new factory partner's sewing floor, I watch how many machines have a dedicated maintenance log taped to the side. A clean, updated log tells me they control for skipped stitches. No log tells me they wait for defects to happen before they react.
How Do I Test Seam Strength on Critical Crown Intersections?
A visual inspection catches visible skips. A physical stress test catches weak seams that look fine but are about to fail. The critical crown intersection is where the six panels meet at the top button. This point has eight layers of fabric, the top button attachment threads, and converging stitch lines from six panels. It is the single highest-stress point on the entire cap. If this intersection fails, the cap unravels from the top down.
Our QC team uses a simple manual pull test. The inspector holds the cap crown with both hands, thumbs inside on either side of the intersection, fingers outside. They pull outward with steady, increasing force, not a jerk, but a controlled pull up to approximately 15 Newtons of force. They watch the seams at the intersection. The stitch line should hold without any visible gap formation. The thread should not snap. The fabric should not tear at the needle holes. If any of these failures occur, the cap is a critical reject.
We also inspect the back side of this intersection from inside the cap. The thread tails from the top button and the converging seams should be trimmed to less than 5 millimeters and properly secured. Loose thread tails can unravel if the knot is not tight. A tail longer than 5 millimeters is a minor defect. An unsecured tail that unravels when pulled is a major defect. This interior inspection is tedious but essential. The customer never sees this area, but they feel it when the top button pops off in their hand after two weeks of wear.
Why Does Sweatband Stitching Failure Cause the Most Customer Returns?
If you look at a warranty return analysis from any hat brand that sells direct-to-consumer, the sweatband is almost always the number one failure point. I analyzed our own return data five years ago across a sample of 20,000 units shipped to an e-commerce client. Over 60 percent of the returns categorized as "defective" were due to sweatband issues. The stitching had come loose, the band had twisted inside the cap, or the seam at the back had separated. The front embroidery and the outer fabric were still perfect. The cap was unwearable because of a strip of material that cost less than five cents.
Sweatband stitching fails for a combination of reasons. First, the sweatband is the part of the cap that absorbs the most sweat, body heat, and friction. The cotton or microfiber material expands and contracts with moisture and drying cycles. This constant dimensional change stresses the thread. A standard polyester sewing thread will hold up to this, but if the stitch tension was set too high during sewing, the thread is already under pre-load stress. When the sweatband expands from moisture, the pre-loaded thread snaps because it has no extra give.
Second, the sweatband is sewn into the cap along a curved path. The crown circumference is a compound curve. Sewing a flat tape along a curved path requires careful feeding and consistent seam allowance. If the operator rushes, the seam allowance drifts. The stitch line wanders off the edge of the sweatband in some sections and cuts too close to the raw edge. A seam that catches less than 2 millimeters of the sweatband edge will tear out under tension. The sweatband pulls away from the crown, and you get that dreaded "floppy sweatband" that customers photograph and post in their one-star reviews.
Third, the back seam of the sweatband, where the two ends of the tape join, is a structural weak point. This seam takes direct tension every time the cap is put on or taken off. If the join is a simple butt seam with a single row of stitching, it will separate. A proper sweatband join is folded and double-stitched, or heat-sealed on the ends before stitching. Inspect this join carefully. Pull the sweatband from both sides of the join and watch for any gap opening. A gap means the seam will fail.
What Is the Correct Stitch Type for Attaching a Sweatband to a Cap Crown?
The stitch type matters immensely. A basic single-needle lockstitch, ISO 301, is common but not ideal for sweatband attachment. It is a non-elastic stitch. When the sweatband stretches from moisture and head tension, a lockstitch has no give. The thread holds firm until it reaches its breaking point, then it snaps cleanly. You can identify a lockstitch by looking at the seam from both sides. The top thread and bobbin thread interlock in the middle of the fabric layers. It looks identical on both sides.
A better option for sweatband attachment is a chainstitch, ISO 401, or a multi-thread chainstitch. A chainstitch has inherent elasticity. The thread loops through itself and can extend slightly under tension without breaking. It is the same stitch type used in the waistband of performance pants and activewear for exactly this reason. It moves with the fabric. When a sweatband expands, a chainstitch seam extends with it and then recovers. A chainstitch is identifiable by the looped appearance on the underside of the seam.
The gold standard for high-end caps is a coverstitch or a two-needle chainstitch with a safety stitch. The coverstitch provides a wide, flat seam that distributes tension across a broader area. A safety stitch is a separate row of stitching, often a lockstitch, placed 2 to 3 millimeters inside the main attachment seam. If the main seam fails, the safety stitch holds. This redundancy is what prevents the total sweatband detachment that triggers a return. At Global-Caps, for our premium lines, we specify a two-needle chainstitch with a top cover thread for sweatband attachment. It costs an extra few seconds of sewing time per cap. The reduction in return rate pays for that extra time within the first hundred units sold.
How Does Improper Sweatband Tension During Sewing Create Twisting Defects?
Sweatband twisting is a frustrating defect because it is not visible when the cap is brand new on a shelf. The sweatband sits flat and looks perfect. The customer wears the cap for a day, sweats in it, takes it off, and the next morning the sweatband has twisted into a wavy, corkscrew mess inside the crown. The cap is still structurally sound, but it feels uncomfortable and looks terrible when taken off. The customer returns it.
The root cause is differential tension between the sweatband and the crown fabric during the sewing process. The sewing machine has two feed mechanisms, a top feed dog and a bottom feed dog. If the operator stretches the sweatband tape tighter than the crown fabric while feeding it through the machine, the sweatband is sewn in under pre-load tension. The stitch line holds it in that stretched state. When the cap is worn and the sweatband gets warm and damp, the fibers relax. The pre-load tension releases, but the crown fabric, which was not stretched, does not release. The sweatband shrinks back to its relaxed length, but now it is longer than the stitch line that holds it. That extra length has nowhere to go, so it buckles and twists.
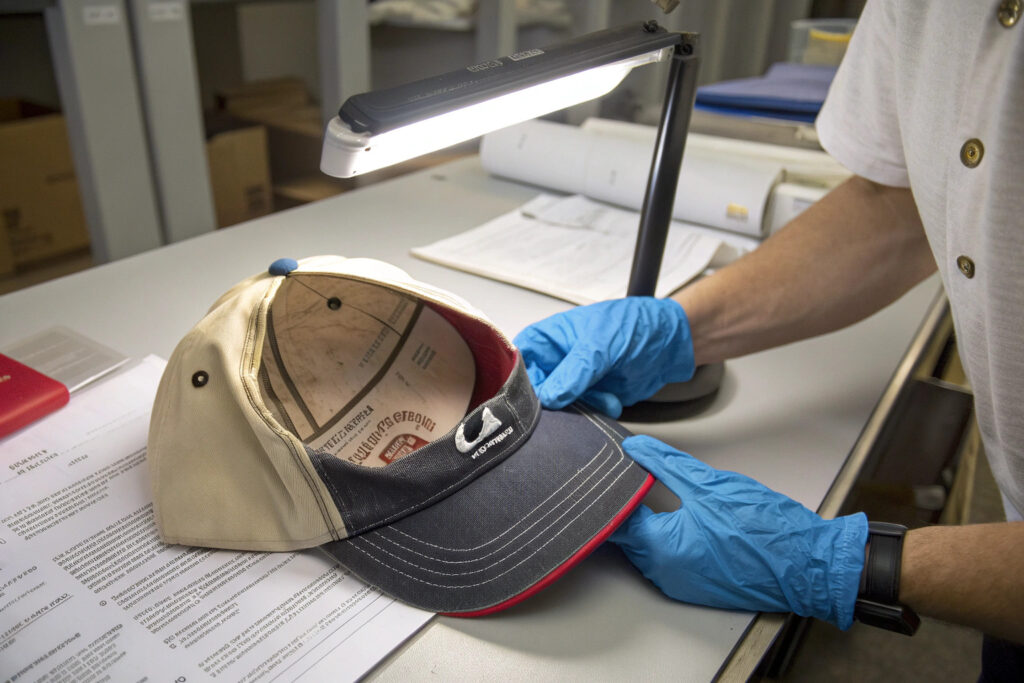
Inspection for this defect requires a wash test or a steam relaxation test on a sample from the production lot. You cannot see it in a dry inspection. We take one cap per hundred from the production line, steam the sweatband area heavily, let it dry naturally, and then check for any twisting or waviness. If the sample twists, the entire lot is suspect, and we adjust the feed tension on the sweatband attachment machines. This is a process control issue, not a component issue. A factory that does not perform this wash test is shipping ticking time bombs that will generate returns four weeks after the customer receives the hat.
How Do I Check for Correct Brim Stitching and Peak Attachment Integrity?
The brim is the most visible part of the cap from the front. It frames the face. Customers notice brim defects instantly. Stitching that wanders off the edge, uneven rows, or a brim that is attached crookedly to the crown are all immediate perceived-quality failures. Even if the hat is structurally sound, a customer who sees wavy brim stitching will assume the entire product is poorly made and return it. Brim inspection requires checking three things: the attachment to the crown, the perimeter stitching on the visor, and the internal insert integrity.
The attachment stitch is the seam that joins the brim to the front crown panel. This seam runs along the curved base of the crown. It is a high-stress area because the brim is constantly being flipped up and down, bent, and grabbed. The attachment stitch must be a tight, consistent lockstitch with a seam allowance that catches the brim insert material. If the stitch line misses the brim insert and only catches the fabric shell, the brim will detach from the crown within weeks. Our inspectors pull the brim forward and watch the attachment seam. Any visible opening, any thread breakage, and the cap fails.
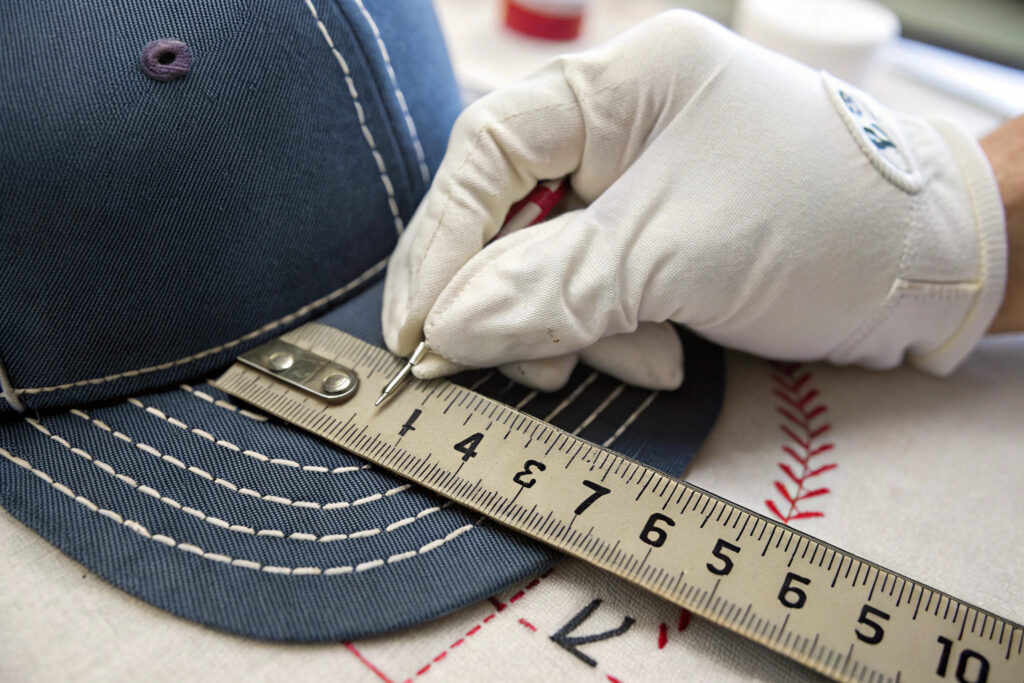
The perimeter stitching on the visor is the series of parallel curved stitch lines that follow the edge of the brim. On a standard baseball cap, there are usually four to eight rows. These stitches serve two purposes. They attach the fabric shell to the internal brim insert, and they create the visual aesthetic of the cap. The defects to look for are stitch row drift, where one row wanders closer or farther from the edge than the others, and edge breakthrough, where a stitch perforates the fabric right at the folded edge, creating a weak point that will fray. A perimeter stitch should stay consistently 3 to 5 millimeters from the edge. Run your finger along each row. Any variation in distance that is visible to the naked eye, typically more than a 2-millimeter deviation, is a major aesthetic defect.
The internal brim insert must be checked by feel. Squeeze the brim between your thumb and forefinger and run your fingers from the center to the edges. The insert should feel solid and uniform. If you feel a crack, a soft spot, or a lump, the insert is damaged or was incorrectly cut. A damaged insert will cause the brim to warp after exposure to moisture or heat.
What Is the Correct Stitch Per Inch Count for Durable Brim Attachment?
Stitch density on the brim attachment seam directly affects durability. A stitch count that is too low, fewer than 6 stitches per inch, leaves large gaps between thread penetration points. The fabric between those points can shift and stretch independently, causing the brim to work loose from the crown over time. A stitch count that is too high, more than 14 stitches per inch, creates a perforation line. The needle holes are so close together that the fabric tears along the stitch line like a postage stamp.
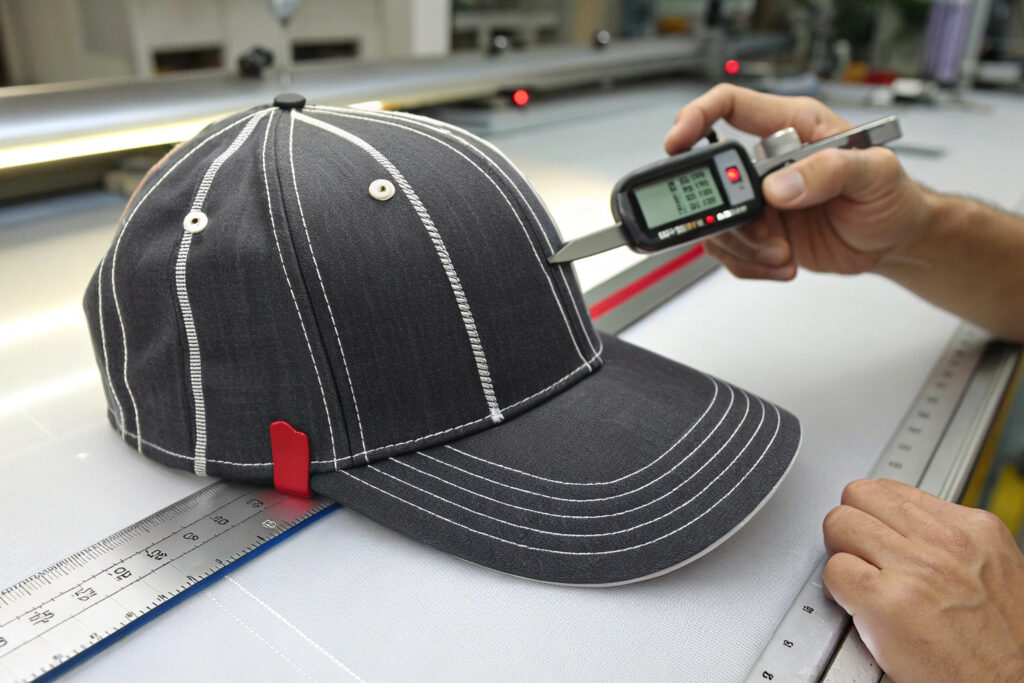
The optimal range for brim attachment on mid-weight cotton twill or polyester caps is 8 to 10 stitches per inch. At 8 SPI, each stitch is close enough to its neighbor to distribute tension evenly, but far enough apart to leave sufficient fabric fiber between the needle holes. This range provides maximum seam strength with minimum fabric damage. On our production floor, the SPI specification is set on the sewing machine's stitch regulator, and the QC inspector checks it with a stitch counter, a simple magnifying tool with a measured window, every hour during production. A machine that drifts below 7 SPI or above 12 SPI is stopped and adjusted.
The thread type also matters for brim attachment. A bonded nylon or polyester thread with a tex size of 40 to 60 provides high tensile strength and abrasion resistance. Cotton thread is not appropriate for brim attachment because it degrades from UV exposure and sweat moisture. A brim spends its life facing the sun. Cotton thread will weaken and fade. Bonded polyester thread will look the same in year three as it did on day one.
How Can I Detect an Off-Center or Crooked Brim Attachment?
A crooked brim is immediately obvious to the wearer. The cap sits on the head with the brim pointing slightly left or right, or the brim slopes at an angle so one side sits higher on the forehead than the other. This defect is caused by misalignment during the brim attachment sewing operation. The operator did not properly center the brim on the crown before stitching.
To detect this, place the cap on a flat table with the brim facing down. The crown should form a symmetrical dome. Look at the cap from directly above. The center seam of the crown, if it is a six-panel cap, should align perfectly with the center point of the brim. If the center seam angles to one side, the brim is crooked. Next, turn the cap over and look at the attachment seam from the inside. Measure the distance from the center of the brim insert edge to the left and right crown side seams. These distances should be equal within a 3-millimeter tolerance. An off-center brim is a critical defect because the cap cannot be worn comfortably. The customer will feel the asymmetry immediately on their head.
A sloping brim, where one side of the brim is sewn higher up the crown than the other, is detected by measuring the distance from the brim edge to the top of the crown on both sides. Place a flexible measuring tape from the highest point of the brim curve to the top button. Compare the left and right measurements. A difference of more than 5 millimeters is a major visual defect. The cap will look lopsided on a display shelf and on a head.
What Back Closure Stitching Defects Lead to Size Adjustment Failures?
The back closure is the mechanical workhorse of an adjustable cap. Every time the cap is put on, the closure is pulled open. Every time the cap is taken off, the closure is pulled open again. Over the life of the cap, this cycle can happen hundreds of times. The closure attachment stitching takes all of this repetitive stress. If that stitching fails, the cap cannot be worn. It is a critical functional failure.
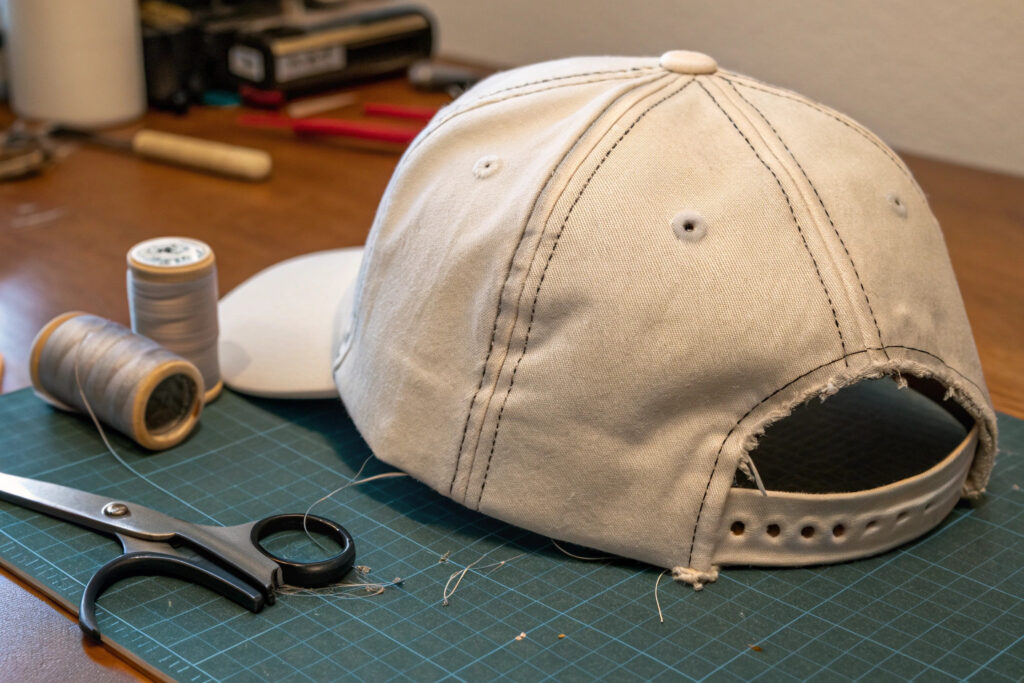
Snapback closures have two attachment points, one on each side of the back opening. Each attachment point is a folded end of the plastic strap sewn into the fabric of the crown. The stitching must penetrate through the fabric, the plastic strap, and the internal seam allowance. The most common defect here is stitch tear-out. The thread holds fine, but the needle holes in the plastic strap elongate under tension, and the strap pulls free of the stitching. This happens when the stitch count is too low, so each needle hole carries too much load, or when the plastic strap material is too soft and deforms under the thread.
Metal buckle and fabric strap closures have different failure modes. The fabric strap is usually sewn directly to the crown with a box stitch or a bar-tack stitch. A box stitch is a rectangular pattern of stitching with diagonal crosses inside. It distributes tension across a large area and is the most secure attachment method. A single row of straight stitching on a fabric strap closure is inadequate and will tear out. Check for bar-tack stitches at the stress points. A bar-tack is a very dense, short zigzag stitch that reinforces a specific point. A fabric strap closure without a bar-tack at the fold point will fray and tear.
Velcro, hook and loop, closures also require specific stitching. The hook tape and the loop tape are sewn to the fabric with a perimeter stitch. If the stitch line is too close to the edge of the tape, within 1 millimeter, the tape edge will curl up and catch on things, pulling the stitching out. The stitch should be set 2 to 3 millimeters in from the tape edge for a flat, secure attachment.
How Should a Snapback Strap Be Stitched to Prevent Tear-Out?
The snapback strap attachment requires a specific stitch pattern and stitch density. A single straight stitch line across the plastic strap is not sufficient. The plastic will flex along that single line of perforations and eventually crack. The correct attachment method uses a box stitch with internal diagonal crosses. This pattern has four rows of stitching, two horizontal and two vertical, with two diagonal lines connecting the corners. This creates eight to ten thread segments holding the strap in place, distributed across a rectangular area rather than a single line.
The stitch density must be higher on the plastic strap attachment than on the fabric seams. We use 10 to 12 stitches per inch on the box stitch. The plastic strap should have a textured surface or small molded holes at the attachment area to give the thread a mechanical grip. Smooth plastic straps are a design flaw because the thread can slide along the surface under tension, loosening the attachment over time. During inspection, pull the snapback strap firmly away from the crown. The stitching should hold without any visible elongation of the needle holes in the plastic. If you see the plastic stretching around the thread, that strap material is too soft and will fail.
Why Should I Check the Stitching on the Closure Reinforcement Patch?
The reinforcement patch is a small piece of fabric sewn inside the crown at the back opening, where the closure attaches. It is hidden from view and often ignored during inspection. But it serves a critical function. It reinforces the thin edge of the crown fabric where the closure pulls on it. Without the patch, the closure tension rips directly into the crown seam, causing a fabric tear that is almost impossible to repair cleanly.
The reinforcement patch must be securely sewn with a perimeter stitch that catches the crown fabric and the closure attachment in a single sandwich. Check this from inside the cap. Pull the closure open and look at the interior back seam. The patch should be flat, not bunched, and the stitching should be continuous around all four edges. A patch that is only sewn on three edges will fold over and expose the raw fabric edge. A missing reinforcement patch on a cap with a snapback or metal buckle closure is a major design defect, even if the closure seems secure on a new sample. The patch is what keeps it secure after months of use.
Conclusion
Stitching defects in a baseball cap are preventable. They are not mysterious quality gremlins that appear randomly. They are the predictable result of specific machine settings, operator techniques, and inspection gaps. A factory that controls needle timing, stitch density, thread tension, and feed alignment produces caps with consistently secure seams. A factory that rushes production and skips in-process inspection produces caps that look fine on a shelf and fall apart on a head.
The inspection approach is systematic. You check the crown seams for skipped stitches and needle damage by stretching the fabric, not just looking at it. You check the sweatband attachment for stitch type, tension, and wash-test performance because that is where customer returns concentrate. You measure brim stitching for parallelism and center alignment because that is where perceived quality is judged. You pull the back closure hard because that is where functional failure makes the cap unwearable. Each zone has its own failure modes, and each failure mode has a specific inspection technique.
At Global-Caps, we train our QC team to inspect caps the way a customer uses them, not the way a factory makes them. We pull seams. We wash samples. We measure stitch density with a counter, not an eyeball estimate. We keep inspection records by batch so we can trace defects back to specific machines and operators. This is not excessive. It is the minimum required to ship headwear that survives real-world use and protects your brand from the cost and reputation damage of field failures.
If you are currently dealing with stitching quality issues from your hat supplier, or if you want to establish a clear, measurable stitching standard for your next production run, we can help. Our team can provide you with a detailed stitch specification sheet and AQL inspection criteria tailored to your cap design. Contact our Business Director Elaine. She has worked with brands to reduce their defect rates by implementing factory-side process controls and pre-shipment inspection protocols. Reach her at elaine@fumaoclothing.com. Let us help you ship caps with seams that hold, sweatbands that stay flat, and closures that never quit.