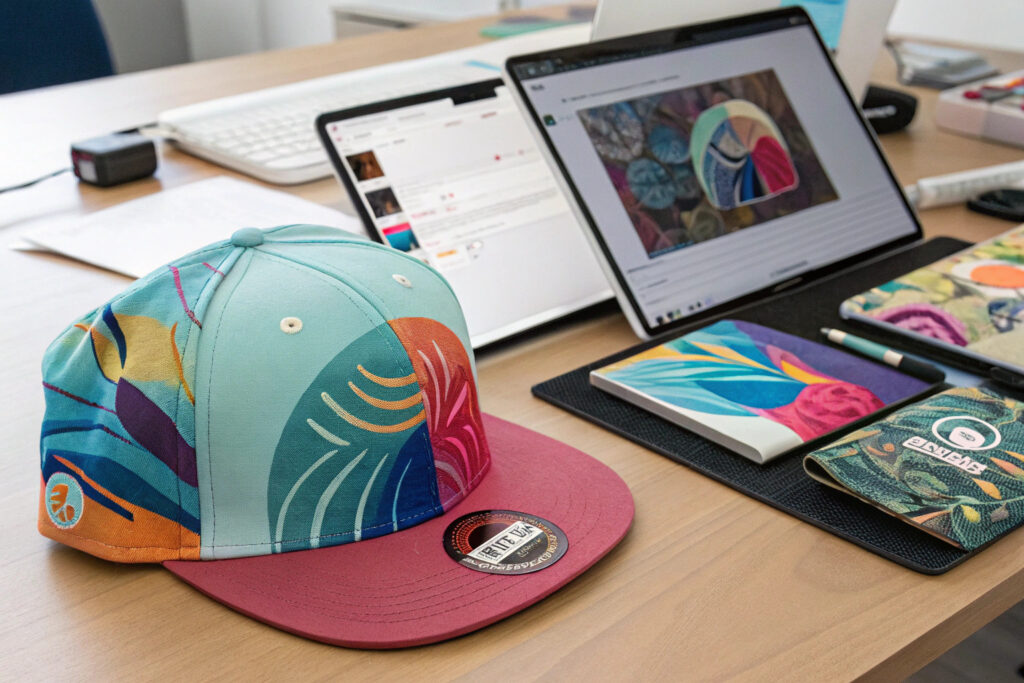
You spent an evening prompting an AI image generator. You typed "retro wave logo for a snapback cap, neon colors, pixel art style." The AI generated a stunning design. It is vibrant, detailed, and looks incredible on your screen. You send the PNG file to your hat factory. "Please digitize this for embroidery." Two weeks later, the sample arrives. It is a disaster. The neon gradients are gone, replaced by solid, flat blocks of color. The fine pixel-art details are muddy blobs of thread. The design is three times larger than you envisioned, sprawling awkwardly across the cap front. The factory says, "We digitized exactly what you sent." They are right. You sent a beautiful screen graphic and expected it to translate directly into a textile medium with completely different physical constraints.
AI-generated art is a revolution in design creativity, but it creates a specific challenge for manufacturing. AI generates pixels on a screen with no inherent scale, no material constraints, and no awareness of the physical process of embroidery, weaving, or printing. The gap between an AI image and a production-ready design file is wide. I run Global-Caps, and I have digitized hundreds of AI-generated designs for customers. The ones that translate beautifully are not the most artistically brilliant AI images. They are the ones that were prepared with the manufacturing process in mind. In this article, I will show you exactly how to prepare your AI-generated hat design so that a factory can digitize it accurately, efficiently, and without the expensive back-and-forth of failed samples.
What File Format and Resolution Does an Embroidery Digitizer Actually Need?
The single most common mistake made by designers using AI tools is sending a low-resolution, rasterized PNG or JPEG file and assuming the digitizer can work with it. A digitizer can technically import a PNG file and trace it, but the result is a rough interpretation. The software must guess where the edges are. Fine details are lost. Color boundaries become jagged. The digitizer spends hours manually cleaning up the auto-trace, and the client pays for that time in digitizing fees.
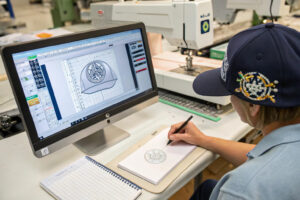
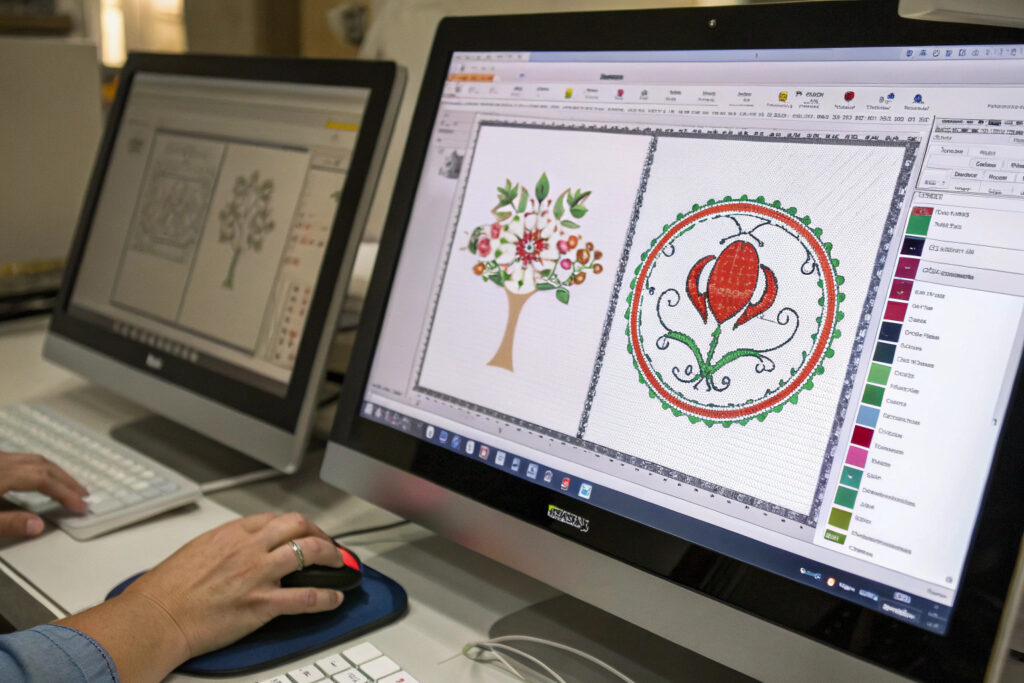
A professional embroidery digitizer needs a vector file format. Vector files define graphics as mathematical paths: lines, curves, and shapes. They are resolution-independent. They can be scaled to any size without loss of quality. The preferred format is an Adobe Illustrator .ai file, an .eps file, or a .svg file. A clean vector file allows the digitizer to see the exact boundaries of each color area. They can assign stitch types, satin stitch for thin columns, tatami fill for large areas, with precision. The digitizing time is cut in half. The stitch file is more accurate. The sew-out is sharper. If you generate your design in an AI tool that produces only raster images, you have two options. The first is to use a vector conversion tool, such as Adobe Illustrator's Image Trace or online vectorization services, to convert the raster image to vector paths. This conversion is rarely perfect and often requires manual cleanup. The second, and far better option, is to generate your design in an AI tool that supports vector output, or to send your AI raster image to a graphic designer for manual vector redrawing.
Beyond the file format, the digitizer needs a clear color separation. AI-generated images often have thousands of colors, smooth gradients, and complex color blending. Embroidery has a hard limit: the number of needles on the machine. A typical multi-head embroidery machine has 12 or 15 needles. Each needle carries one thread color. Your design must be reduced to a manageable number of solid, distinct thread colors. The digitizer needs a vector file where each color area is a separate, closed shape, and a corresponding list of thread color codes, such as Madeira or Gunold codes, for each shape. If you provide a beautiful watercolor-effect AI image with no defined color boundaries, the digitizer must make artistic decisions about where to place the boundaries. The result will be their interpretation, not your vision.
How Many Colors Can I Realistically Include in an AI Design for Embroidery?
The number of thread colors in an embroidered design directly affects the cost, the production time, and the feasibility. Each additional color requires a thread change on the embroidery machine. A thread change stops the machine, trims the thread, indexes to the next needle, and restarts. On a 12-head machine, a single additional color can add minutes to the run time of a single cap, multiplied by thousands of caps.
For a promotional or budget cap, I recommend limiting the design to a maximum of six to eight thread colors. For a premium fashion cap, you can push to ten or twelve colors. Beyond twelve colors, the design becomes technically challenging for standard multi-head embroidery machines and may require a speciality machine or a different decoration method, such as woven patches or sublimation printing. When you generate your AI design, prompt the AI to use a limited, flat color palette. For example, "generate a logo design using only 6 flat colors, no gradients." This constraint at the creative stage saves significant cost and complexity at the production stage.
What Is the Difference Between a Raster PNG and a Vector EPS for Digitizing?
A raster image, a PNG, JPEG, is a grid of colored pixels. When the digitizer enlarges a raster image, the individual pixels become visible. The edges become stair-stepped and jagged. The digitizing software's auto-trace function follows these jagged pixel edges, producing a jagged stitch outline. The digitizer must manually smooth every curve. This is time-consuming and introduces human variability.
A vector image is a mathematical description of the design. The edges are mathematically smooth curves, bezier curves. The digitizing software can directly read these curves and generate smooth stitch paths. There is no jagged interpretation. The stitch file is a faithful translation of the vector geometry into thread. The difference in the final sew-out is dramatic. A design digitized from a clean vector file has crisp, smooth edges. A design digitized from a raster file often has a slightly rough, hand-drawn quality. Sometimes that aesthetic is desirable, but it should be an intentional choice, not an accident of file format.
How Do I Set the Correct Scale and Placement for an AI Hat Design?
AI image generators create art in a dimensionless digital void. A design that fills your screen beautifully may be 300 pixels wide or 3000 pixels wide. The AI does not know. The factory does not know unless you tell them. Sending a design file with no scale information is like handing an architect a drawing of a house with no dimensions and saying, "Build this."
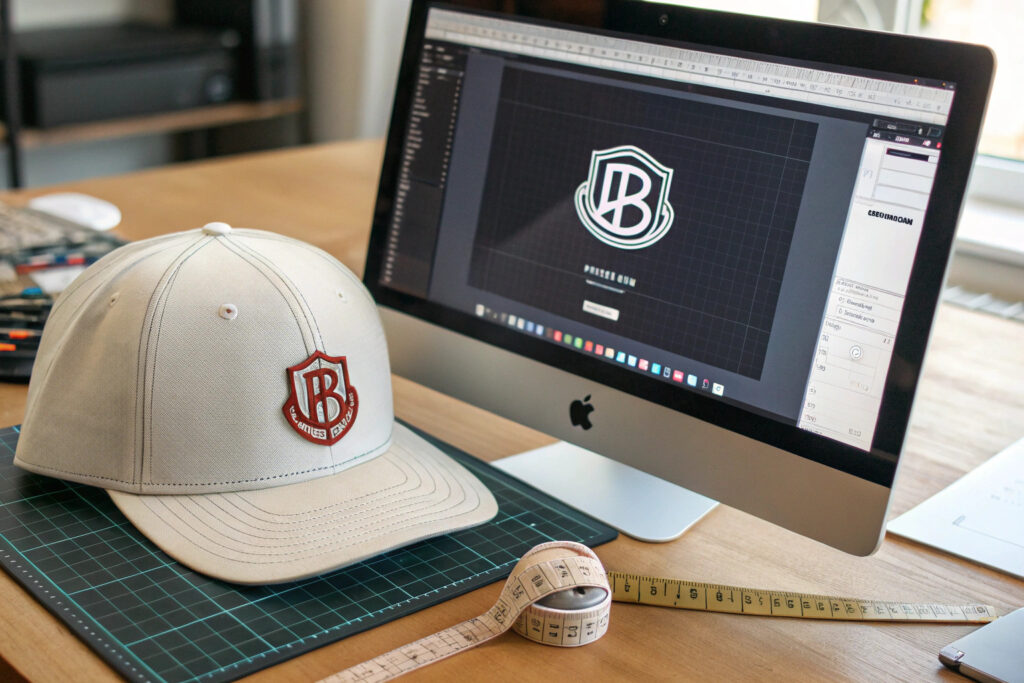
The maximum embroidery area on the front of a standard adult cap is approximately 55mm to 60mm in height, measured from the brim upward, and about 130mm to 140mm in width, measured across the curve of the front panels. The design should be sized to fit comfortably within this embroidery field with appropriate margins. For a typical front-panel logo, the design width should be between 50mm and 110mm, depending on the design's proportions and visual weight. A smaller left-chest style logo might be 25mm to 40mm wide. You must specify the exact finished width or height in millimeters. The best method is to provide the vector file with the design drawn at 1:1 scale, the exact size it should appear on the cap. If you are providing a raster file, include a scale reference in the file, such as a box drawn around the design with the dimensions labeled, or specify the dimensions clearly in the email to the factory.
Placement is equally critical. The standard placement for a front-panel embroidery design is centered horizontally on the center front seam, with the bottom of the design approximately 45mm to 50mm up from the brim edge. This is the visual sweet spot. If the design is too low, it disappears into the brim curve. If it is too high, it looks like it is floating on the forehead of the cap. A tech pack should include a placement diagram showing the cap front as a template with the design positioned and dimensioned. An even better method is to provide a 3D mockup on a cap template, with the design placed exactly where you want it, and the key dimensions annotated.
What Are the Standard Embroidery Size Limits for Different Cap Styles?
Different cap styles have different embroidery areas. A classic six-panel structured cap has a large, relatively flat front panel. The maximum embroidery area is generous, as described above. A five-panel cap has a center front panel that is wider but shorter. The design must be adapted to fit. A dad cap with an unstructured crown can accommodate embroidery, but the fabric puckers more easily with dense designs.
A trucker cap has a foam front panel that limits embroidery density. Heavy embroidery on foam can cause tearing. The design should be lighter and less dense. A visor has a very small, curved embroidery area on the front panel above the brim. A bucket hat has a circular brim that can be embroidered, but the design must follow the curve. Each cap style has its own embroidery specifications. When you generate an AI design, know which cap style it will be applied to. Generate the design with that specific canvas in mind. A design that works beautifully on a structured snapback may not work on a soft, unstructured dad cap.
How Can I Provide an Accurate Placement Mockup Without Expensive Software?
You do not need professional 3D modeling software to create a placement mockup. A simple, free method is to photograph a physical cap of the same style from a direct front angle. Import the photo into a basic image editor, or even a presentation software like PowerPoint. Place your design on top of the cap photo, scale it visually to the correct size, and position it where you want it. Take a screenshot. Annotate the desired width in millimeters. This annotated mockup, combined with the vector art file, gives the factory a clear visual instruction. The mockup is a communication tool. It is not the production file, but it eliminates the ambiguity of "make it look like a normal size."
What Design Elements in AI Art Are Difficult or Impossible to Embroider?
AI image generators excel at producing designs with features that embroidery cannot replicate. They love smooth color gradients, soft drop shadows, translucent overlays, photographic textures, and impossibly fine lines. These features are beautiful on a screen. They are technically impossible or prohibitively expensive in thread.
Gradients are the number one translation failure. Embroidery thread is a solid color. There is no way to smoothly blend one thread color into another. The only way to simulate a gradient in embroidery is with a series of stepped, solid color bands, which creates a striped, not smooth, effect, or by using a special digitizing technique called contour stitching or thread shading, which varies the stitch density and angle to create an optical blend. This technique requires a highly skilled digitizer, increases stitch count dramatically, and works best over a short distance. A smooth AI gradient that transitions from bright yellow to deep orange over 50mm will not translate well to embroidery. The solution is to redesign the AI image with flat, solid color areas before sending it to the factory.
Fine lines are the second translation failure. AI can generate a beautiful, delicate outline that is one pixel wide. In embroidery, the minimum stitch width for a satin stitch is about 1.5mm to 2mm. Below that, the needle chews up the fabric, or the thread does not cover the underlay. A one-pixel AI line becomes a thick, clunky embroidered line. Tiny text, below 5mm in height, closes up and becomes illegible. Drop shadows and glows are a third failure. AI creates soft, blurred shadows behind objects. Embroidery cannot create a soft, feathered edge. A shadow effect must be created with a separate, solid color block, which looks like a hard shadow, not a soft one.
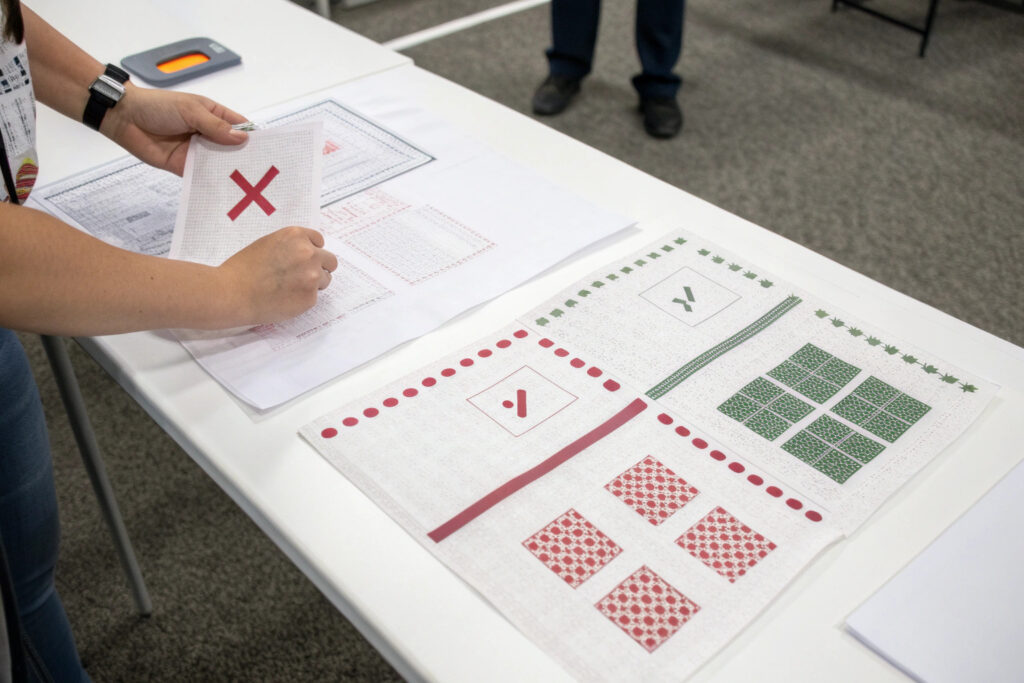
The solution to all three issues is to simplify the AI design before sending it to the factory. Convert gradients to flat color areas. Thicken fine lines to at least 2mm equivalent width. Remove drop shadows or convert them to solid, offset shapes. Enlarge small text to at least 6mm height. The simplified design will not look identical to the AI original, but it will look sharp and professional when embroidered. The AI original that fails these simplifications will look muddy and amateurish.
How Should I Handle AI-Generated Photographic Textures?
Some AI models can generate images that look like photographs, with realistic textures, lighting, and complex surface details. These cannot be directly embroidered. Embroidery is a vector medium. It works by stitching lines and filling areas. It does not have the resolution to reproduce photographic texture.
If your AI design incorporates a photographic texture, such as a denim texture, a wood grain, or a watercolor wash, you must decide whether the texture is essential to the design or merely decorative. If it is decorative, remove it. If it is essential, consider an alternative decoration method. Sublimation printing can reproduce photographic textures on polyester caps. Woven patches can approximate some textures with thread. Embroidery cannot. Be realistic about the medium. An embroidered logo is a vector graphic rendered in thread. Design in a vector graphic style, and the translation will be faithful.
What Is the Minimum Recommended Size for Embroidered Text?
Small text is the most common point of failure in embroidered designs. The AI generates a design with a beautiful, elegant font at a size that looks perfect on the screen. When embroidered, the letters close up, the counters, the interior spaces of 'a', 'e', 'o', fill with thread, and the text becomes an illegible series of blobs.
The minimum recommended height for embroidered capital letters is 6mm. For lowercase letters, 5mm. For text with serifs or fine strokes, the minimum is larger, 8mm or more. These are hard physical limits determined by the thickness of the embroidery thread and the needle. A skilled digitizer can push slightly below these limits with micro-font techniques, but the result is delicate and may not survive repeated washing. When preparing your AI design, zoom in on any text. Measure its approximate size on the cap at the intended scale. If it falls below these minimums, enlarge the text or remove it. The text that looks crisp in the AI render will be a fuzzy afterthought in thread.
How Should I Communicate Color Matching From an AI Palette to Physical Thread?
The colors on your AI design exist as RGB or hex code values emitted by a screen. They are luminous, backlit, and expressed in a color space that is far wider than what physical thread can achieve. Thread colors exist as physical dyed polyester or viscose. They are matte, reflective, and limited to the colors a thread manufacturer has produced. A vibrant neon blue on your screen may have no direct thread equivalent.
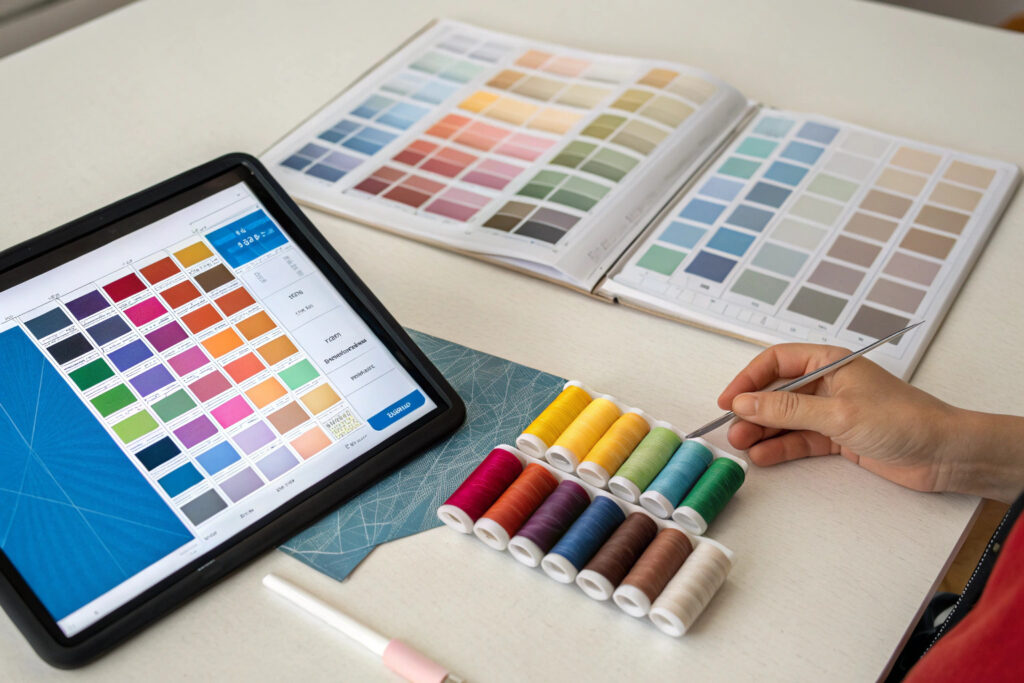
Do not send hex codes or RGB values to the factory and expect an accurate color match. Hex codes are screen colors. They do not map directly to textile colors. The factory's digitizer does not have a Pantone book calibrated to your monitor. The correct color communication method is to use a physical thread color card from a major embroidery thread manufacturer. Madeira, Gunold, and Robison-Anton all produce thread color cards with actual thread samples. You obtain a thread card, you match your AI design colors to the physical thread samples under daylight-balanced lighting, and you provide the factory with the specific thread color codes.
The second-best method is to specify Pantone Fashion, Home + Interiors cotton TCX codes for each color in your design. The factory can then match their thread inventory to the Pantone reference. This method is less precise than a direct thread match because thread does not always have a perfect Pantone equivalent, but it is far better than providing RGB hex codes. A third method, and the one I recommend for critical color accuracy, is to request a thread sew-out card from the factory. The factory sews a sample of each proposed thread color onto the actual cap fabric and sends you the physical sew-out card. You approve the thread colors on the actual material, under real lighting. This eliminates all color translation errors.
Why Do Neon and Metallic AI Colors Pose Special Challenges?
AI-generated neon colors, electric cyan, hot magenta, acid green, are particularly vivid because they are produced by emitting light directly into your eyes. A physical thread reflects ambient light. It cannot achieve the same perceived intensity. Neon thread colors exist, but they are less vibrant than their screen equivalents. They also tend to fade faster with washing and sun exposure because the fluorescent dyes are less stable than standard dyes.
Metallic AI effects, gold foil, silver chrome, bronze shimmer, require special metallic embroidery threads. These threads are constructed with a metallic foil wrapped around a polyester core. They are available, but they have limitations. They are stiffer than standard thread, which can affect the drape of the embroidery. They can be prone to breaking at high machine speeds. They are more expensive. They also tarnish slightly over time with exposure to sweat and washing. If your AI design relies heavily on neon or metallic colors, be aware of these physical limitations. Discuss them with the factory before finalizing the design.
How Can I Create a Color Separation Sheet From an AI Design?
A color separation sheet is a document that shows each color in the design as a separate, labeled area. It is the master color reference for the digitizer. To create one, take your vector design file and break it apart into individual color layers. Export each layer as a separate image file, or create a document that shows each color shape with a callout line and the specified thread color code.
For example, "Color 1: Background Fill, Madeira 1801 White. Color 2: Main Logo Shape, Madeira 1342 Royal Blue. Color 3: Outline, Madeira 1000 Black." This sheet removes all ambiguity. The digitizer knows exactly how many thread colors are needed, which areas receive which thread, and which thread codes to load into the machine. This is a simple document to create, but it dramatically reduces digitizing errors and revision cycles. I provide a color separation sheet template to all my clients.
Conclusion
Preparing an AI-generated hat design for accurate factory digitizing is a process of translation. You are translating from a luminous, infinite-resolution, dimensionless screen image into a physical, thread-based, dimensionally constrained, mechanically produced textile graphic. The translation requires you to provide a clean vector file, not a low-resolution raster image. It requires you to reduce your AI color palette to a manageable number of solid thread colors, each matched to a physical thread standard. It requires you to specify the exact finished size in millimeters and the placement on the cap, using a dimensioned mockup. It requires you to simplify or remove AI features that embroidery cannot reproduce: gradients, fine lines, drop shadows, and photographic textures.
This preparation work does not diminish your creative vision. It adapts it to the medium of embroidery, where it will live on a cap, not on a screen. The design that emerges from the embroidery machine, when properly prepared, will be sharp, durable, and professional. The design that is sent raw, straight from the AI generator, will be a costly disappointment.
If you have an AI-generated hat design that you want to bring to life in embroidery, I invite you to work with Global-Caps. Our in-house digitizing team specializes in translating digital art into production-ready stitch files. We can review your AI design, provide a technical assessment of its embroidery feasibility, and guide you through the preparation process. We provide a thread sew-out card for color approval and a dimensional proof before any bulk production begins. Reach out to our Business Director, Elaine, at elaine@fumaoclothing.com with your AI design file. Let's turn your screen pixels into stitches that last, faithfully, beautifully, and exactly as you envisioned, adapted for the physical world.