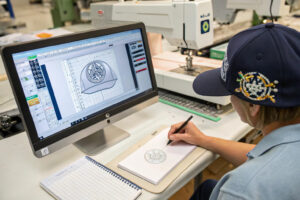
I had a client who flew from London to our factory three times a year for the midpoint check. He spent four thousand dollars on flights and hotels each trip. One year, a volcanic ash cloud shut down European airspace. He was stuck. His order of 5,000 caps was halfway through production. He couldn't see it. He couldn't touch it. He had to decide whether to trust us to finish the order blind, or to delay the shipment until he could fly. I told him to open his laptop. I walked the production floor with my phone. He saw the caps being sewn. He saw the embroidery running. He saw the QC station inspecting the first batch. He approved the midpoint. The order shipped on time. He never flew for a midpoint check again.
You use video call inspections to approve hat production at the midpoint by scheduling a live, structured video walkthrough with your factory's project manager, using a pre-agreed inspection checklist, observing the critical production stages in real-time, directing the camera to specific details, and providing verbal conditional approval that is confirmed in writing within minutes of the call ending. The midpoint is the moment when the fabric is cut, the first batch of caps is assembled, and the decoration is running. It is the last point at which a systematic error can be caught and corrected before the entire order is finished. A video call inspection at this point replaces the physical flight with a virtual presence. It is faster, cheaper, and, when done correctly, just as effective as an in-person visit. It is not the same as being there, but it is 90% of the value for 1% of the cost.
I conduct video call midpoint inspections with my clients every week. I have refined the process into a structured system that delivers confidence, catches errors, and builds trust. I want to share the exact protocol, the equipment setup, the inspection checklist, and the documentation method that turns a casual video chat into a professional quality control tool. This is how you inspect a hat production line from 6,000 miles away.
Why Is the Midpoint Inspection the Most Critical Quality Gate?
The production midpoint is the moment when the first complete units come off the sewing line. The fabric has been cut. The embroidery or printing has been applied to the first batch. The caps have been assembled. The sweatbands have been sewn in. The closures have been attached. These first units represent the production system fully operational. They are the physical proof that the pre-production sample has been translated into bulk manufacturing. Any systematic error in the pattern, the decoration placement, the thread color, the sweatband tension, or the construction sequence will be visible in these first units. If the error is caught now, the remaining 50% of the order can be corrected. The cut fabric can be re-cut if necessary. The machine settings can be adjusted. The operator training can be reinforced. If the error is not caught until the final inspection, the entire order may need to be remade, and the delivery deadline is almost certainly missed. The midpoint inspection is the last off-ramp before the point of no return.
I schedule the midpoint video call for the day the first 10% to 20% of the order is fully finished and packed into polybags, or at least assembled and ready for final trim. This is usually 40% to 50% of the way through the total production timeline. The call is scheduled in advance, not ad-hoc. I tell the client the exact date and time the first units will be ready. I ask them to block 45 minutes on their calendar. I prepare the samples, the measurement tools, and the documentation. When the call starts, we are looking at real, finished caps from their order, not pre-production samples. The midpoint inspection timing is a critical project management decision. Too early, and the production system is not fully represented. Too late, and the opportunity for correction is lost.
The midpoint is the correct timing. But the value of the midpoint inspection depends entirely on what you inspect. A random glance at a few caps is not an inspection. A structured review against the approved pre-production sample and the tech pack is an inspection. The checklist is the tool that ensures the inspection is comprehensive and objective.
What Specific Defects Are Most Likely to Appear at the Midpoint?
The defects that appear at the midpoint are the systematic errors that affect the entire production run, not the random errors that affect individual units. The most common systematic defects are incorrect logo placement, where the embroidery or print is positioned too high, too low, or off-center on the first units because the machine setup was not calibrated to the approved sample. Incorrect thread color, where a slightly wrong shade was loaded onto the embroidery machine. Incorrect sweatband tension, where the sweatband is sewn too tight or too loose, affecting the cap's fit. Incorrect seam allowance, where the sewing machines are set to a different seam width than the pre-production sample, changing the cap's size. Incorrect visor curvature, where the brim press is set to a different curve angle. Fabric shading issues, where the bulk fabric lot is a slightly different shade than the sample lot. These defects are all setup errors. They are introduced when the production line transitions from making one sample to making thousands of units. They are all detectable at the midpoint. They are all correctable at the midpoint. The common production setup defects are well-documented in manufacturing quality control literature.
How Does a Midpoint Call Differ from a Final Pre-Shipment Inspection?
The midpoint call is a process check. The final pre-shipment inspection is a product check. The midpoint call asks: "Is the production system set up correctly?" The final inspection asks: "Do the finished goods meet the specification?" The midpoint call is conducted when 10% to 20% of the order is complete. The final inspection is conducted when 100% of the order is packed. The midpoint call is a collaboration between the buyer and the factory to identify and correct setup errors. The final inspection is an independent verification, often by a third-party inspector, to accept or reject the shipment. The midpoint call can be informal and conducted via a standard video call platform. The final inspection is formal and documented with a detailed AQL report. The midpoint call is an optional but highly recommended process. The final inspection is a mandatory requirement in most professional purchase orders. The two inspections serve different purposes. Both are valuable. The midpoint call prevents defects. The final inspection detects them. The inspection type comparison is a useful framework for understanding where each tool fits in the quality control timeline.
What Equipment and Setup Does the Factory Need for a Reliable Video Inspection?
The quality of a video call inspection is determined by what the camera can see. A shaky smartphone camera pointed at a cap in a dim corner of the factory is not an inspection tool. It is a frustrating experience for the buyer and a waste of time. The factory must set up a dedicated inspection station with proper lighting, a stable camera, and the necessary measurement tools. This is not expensive equipment. It is a few hundred dollars of gear that pays for itself in the trust and efficiency it creates.
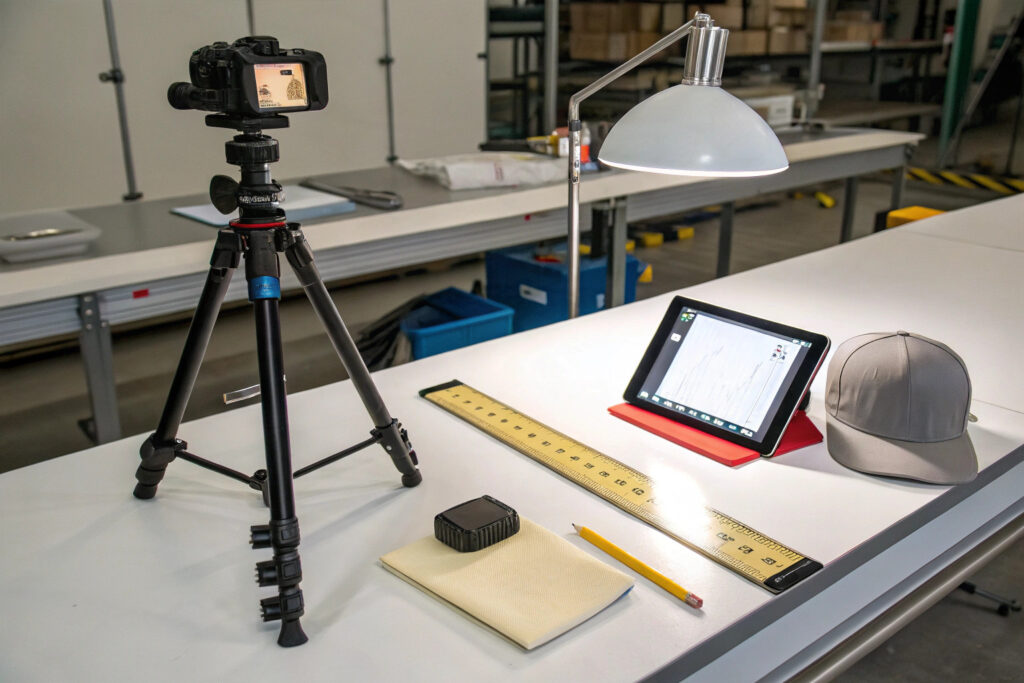
I have a permanent video inspection station set up in our QC area. The station consists of six components. Component one: a high-definition webcam or a smartphone with a 4K camera, mounted on a stable tripod. The tripod eliminates camera shake. The high resolution allows the buyer to zoom in on details without the image pixelating. Component two: a daylight-balanced LED lamp with a color temperature of 5000K to 6500K and a CRI above 90. This lamp simulates natural daylight and allows the buyer to evaluate color accurately. Component three: a clean, neutral grey inspection surface. A large grey cutting mat works well. The neutral background prevents color contamination from a colored tablecloth. Component four: the sealed pre-production approval sample. This is the physical reference standard. It is placed next to the bulk production samples so the buyer can compare them side by side on camera. Component five: measurement tools. A digital caliper, a flexible tailor's tape measure, and a Pantone color reference book. These tools are used to demonstrate measurements on camera. Component six: a laptop or tablet positioned so the factory operator can see the buyer's face and hear their instructions clearly. This setup transforms a casual video call into a professional remote inspection. The video inspection equipment setup is a standard configuration for remote quality control in manufacturing.
The equipment creates the visual feed. The inspection checklist creates the structure. A video call without a checklist is a conversation. A video call with a checklist is an audit. The checklist ensures that every critical quality point is reviewed and that nothing is skipped because of time pressure or distraction.
What Lighting Conditions Are Essential for Accurate Color Assessment on Video?
Color assessment on video is inherently challenging. The camera sensor, the screen calibration, and the ambient lighting all affect the perceived color. To minimize these variables, the factory must use a daylight-balanced light source at 5000K to 6500K with a high CRI above 90. This is the international standard for color assessment in the textile industry. The light must be positioned to illuminate the cap evenly from the front, minimizing shadows. The buyer should also be aware that their own screen may not be color-calibrated. The video color assessment is a screening tool, not a definitive color measurement. If the color looks significantly different from the approved sample, it warrants a physical lab dip check or a spectrophotometer reading. If the color looks consistent, it is likely acceptable. The color assessment lighting standards are defined by ISO 3664 and other international standards.
How Should the Factory Present Measurements on Camera for Verification?
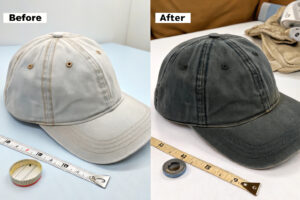
Measurements must be shown on camera in a way that the buyer can read the numbers and verify the method. The factory operator holds the ruler or caliper against the cap, positions it so the measurement point and the scale are both visible, and reads the measurement aloud. The operator then holds the position steady for several seconds so the buyer can take a screenshot. For example, "The distance from the brim to the bottom of the logo is 30 millimeters. You can see the ruler here." The operator places the ruler with the zero mark on the brim attachment line and the 30-millimeter mark aligned with the bottom edge of the logo. The camera zooms in. The buyer sees the measurement. The buyer says "confirmed" or "move it down 2 millimeters." This method is repeated for every critical measurement on the checklist. The measurement demonstration method is essential for remote inspection because the buyer cannot pick up the ruler themselves.
What Should a Midpoint Video Inspection Checklist Cover?
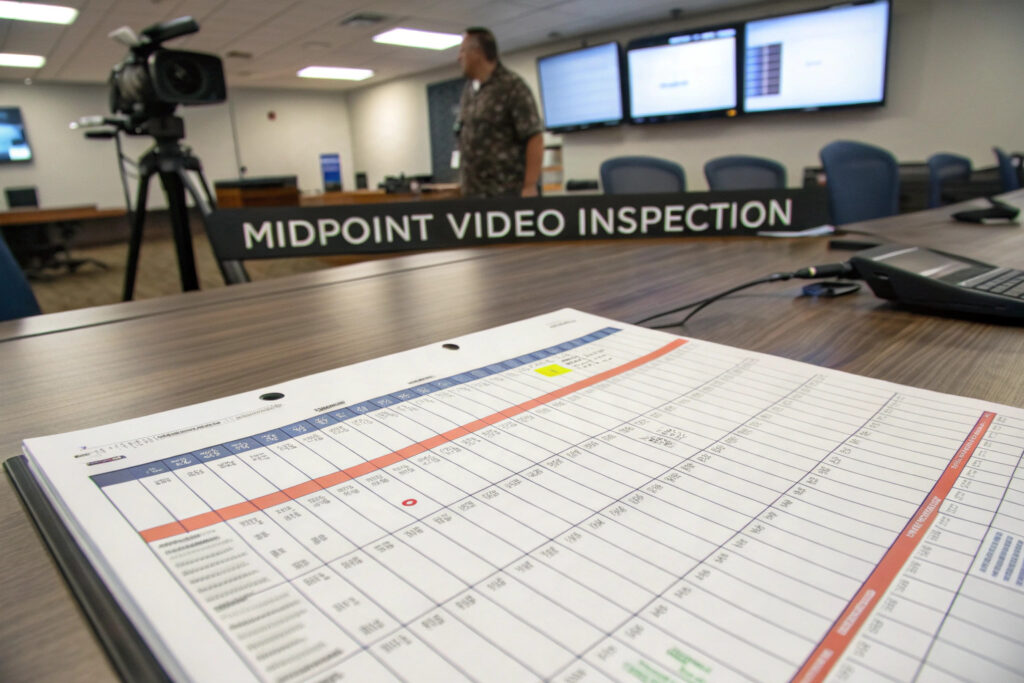
The midpoint video inspection checklist is the agenda for the call. It ensures that the inspection covers every critical quality dimension and that the results are documented. The checklist is shared with the factory before the call so they can prepare the samples and the measurement tools. The checklist is filled out during the call and signed by both parties at the end. The completed checklist is the inspection record.
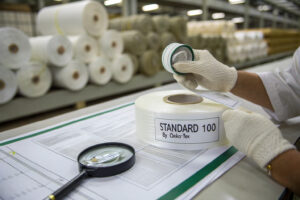
My midpoint video inspection checklist has ten sections. Section one: fabric and color. Check the fabric hand feel, the color match to the approved lab dip or sample, and the fabric weight consistency. Section two: cut and panel alignment. Check the seam alignment, the panel symmetry, and the pattern matching at the seams. Section three: logo placement. Measure the distance from the brim, the centering on the front seam, and the total logo width and height. Section four: embroidery or print quality. Check the stitch density, the thread tension, the color registration for multi-color designs, the backing condition, and the print sharpness and opacity. Section five: sweatband. Check the sweatband material, the width, the stitching, and the tension. For fitted or Flexfit caps, check the elastic stretch. Section six: closure. Check the closure type, the color match to the fabric, the functionality, and the attachment strength. Section seven: visor and brim. Check the visor curvature, the brim stiffness, and the stitching or bonding along the brim edge. Section eight: internal construction. Check the seam taping, the buckram condition if structured, and the overall internal cleanliness. Section nine: labeling and packaging. Check the brand label, the care label, the hangtag, the polybag, and the carton marking. Section ten: overall workmanship. Check for loose threads, skipped stitches, glue residue, and general cleanliness. Each section has specific pass or fail criteria referenced to the approved pre-production sample and the tech pack. The inspection checklist design is a standard quality control practice.
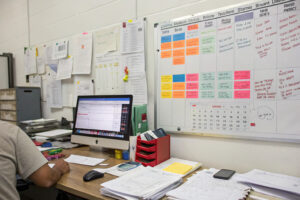
The checklist covers the technical specifications. But the most powerful part of the midpoint video call is the live walkthrough of the production floor. This is the part where the buyer sees the real production environment, the machines, and the workers. It is the part that reveals more than the sample caps on the inspection table.
How Should the Factory Walk You Through the Production Floor Live?
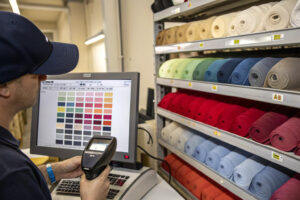
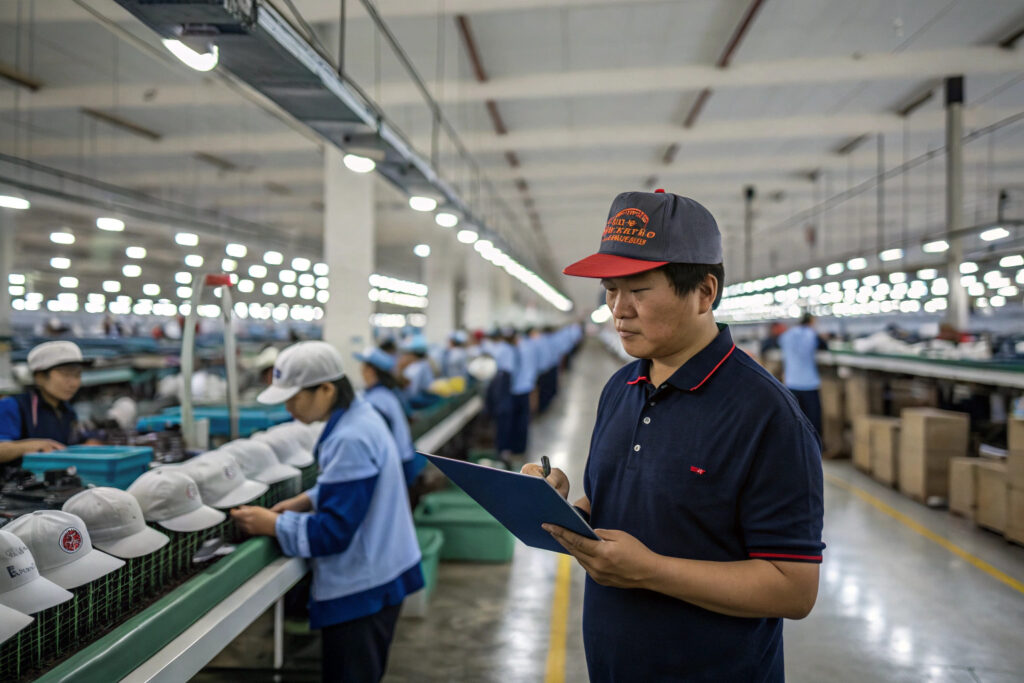
The live floor walk is a 10-minute segment of the video call where the factory project manager takes the camera onto the production floor and shows the buyer the actual production of their order. The walk follows a logical sequence from raw materials to finished goods. The manager starts in the fabric storage area, showing the bulk fabric rolls and the lot numbers. The manager then moves to the cutting area, showing the cut panels for the order. The manager then moves to the embroidery or printing area, showing the machines running the buyer's logo. The buyer can ask the manager to zoom in on a specific machine or a specific cap. The manager then moves to the sewing line, showing the caps being assembled. The manager then moves to the finishing and packing area, showing the finished caps and the packing process. The live walk verifies that the factory has the disclosed quantity of fabric, that the production is active and organized, and that the working conditions are consistent with any social compliance requirements. The production floor walkthrough is a standard element of a factory audit, adapted for remote video.
What Questions Should You Ask the Production Line Supervisor Directly?
During the floor walk, ask the production line supervisor specific, verifiable questions. Do not ask the project manager. Ask the person whose hands are on the machines. Ask: "How many units of this order have you completed so far today?" The supervisor should be able to answer immediately with a specific number. Ask: "What was the defect rate on the last batch of embroidery?" The supervisor should be able to point to a quality board or a log. Ask: "Can you show me the needle change log for this machine?" The supervisor should be able to produce a logbook or a digital record. Ask: "What is the main challenge you are having with this order?" The supervisor may reveal a material issue, a machine issue, or a design issue that the project manager has not communicated. These direct questions provide unfiltered information about the production reality. The supervisor interview technique is adapted from quality audit practices.
How Should You Document and Follow Up on a Video Call Approval?
The video call approval is a verbal decision. It must be converted into a written record immediately, while the details are fresh in both parties' minds. The written record serves as the official approval document, the corrective action tracker, and the evidence of quality control due diligence. Without the written follow-up, the verbal approval can be disputed, forgotten, or misunderstood. The follow-up email is the contract for the remainder of the production.
I send the midpoint inspection follow-up email within 30 minutes of the call ending. The email has a standard structure. The subject line: "Midpoint Inspection Approval – PO #XXXX – [Approved / Conditionally Approved]." The body: "Thank you for the video call inspection today at [time]. We reviewed the first [quantity] units of PO #XXXX. The following items were inspected and approved: [list the checklist sections that passed]. The following items require corrective action before final inspection: [list the specific defects, the required correction, and the deadline]. The agreed corrections are: [detailed description of each correction]. Please confirm by reply email that these corrections will be implemented and provide photos of the corrected items by [date]." I attach the completed inspection checklist, screenshots from the video call showing any defects, and the measurement verification photos. This email creates a clear, documented record of the inspection outcome. The factory replies with their confirmation. The corrective action is tracked. The inspection documentation best practices require immediate, structured documentation of all inspection findings.
The follow-up email is the documentation of the inspection. The approval type, whether full approval, conditional approval, or rejection, determines the next steps. The conditional approval is the most common outcome. It allows production to continue while minor corrections are implemented, avoiding a full production stop while maintaining quality standards.

What Is the Difference Between Full Approval and Conditional Approval?
Full approval means the midpoint units meet all specifications. No corrections are required. Production continues to completion. This is a rare and happy outcome. Conditional approval means the midpoint units are generally acceptable, but specific, listed defects must be corrected on the remaining units. Production can continue, but the factory must implement the corrections and provide evidence of correction before the final inspection. This is the most common outcome. It reflects the reality that minor setup adjustments are normal at the midpoint. Rejection means the midpoint units have a major, uncorrectable defect. Production is stopped. The defective units are reworked or remade. A new midpoint inspection is scheduled before production resumes. This is a serious outcome that should be rare if the pre-production sample approval was thorough. The inspection outcome classification provides a clear decision framework for each scenario.
How Can You Use Screenshots as Evidence in a Quality Dispute?
Screenshots captured during the video call are powerful evidence. They show the exact condition of the product at the exact time of the inspection. If a dispute arises later about whether a defect was present at the midpoint, the screenshots provide a timestamped, visual record. I capture screenshots of every measurement, every defect, and every overall product view during the call. I save the screenshots in the order's quality folder with descriptive file names, such as "PO1234_Midpoint_LogoPlacement_30mm.jpg." If the factory later claims that a defect was caused by shipping damage, and I have a screenshot of the defect on the production floor, the dispute is resolved instantly. The screenshot evidence is a standard documentation practice in remote quality control.
Conclusion
A video call midpoint inspection is a powerful, cost-effective quality control tool that brings the buyer onto the production floor without the expense and time of travel. It is conducted at the moment when the first finished units come off the line, the last point at which systematic errors can be caught and corrected before the entire order is complete. The inspection requires a structured checklist, a properly equipped inspection station, a live production floor walk, direct questioning of the line supervisor, and immediate written documentation of the findings. A conditional approval with documented corrective actions is the normal and healthy outcome. It means the inspection caught real issues and the factory is correcting them before they become final rejections.
I have conducted hundreds of these video inspections for clients around the world. They have caught misplaced logos, wrong thread colors, loose sweatbands, and fabric shading issues. Each time, the issue was corrected at the midpoint. The final shipment was on spec and on time. The client never paid for a flight. The trust between us grew because the client saw the production reality, not just the final product. The video call inspection is the new standard for professional, transparent hat manufacturing.
If you want to schedule a midpoint video inspection for your current or next order, and you want a factory that has the equipment, the checklist, and the process ready to go, let us walk you through our setup. Our Business Director, Elaine, can arrange a demonstration video call where we show you our inspection station, our measurement tools, and our documentation process before your order even begins. Email her at elaine@fumaoclothing.com and request the Remote Inspection Demonstration. We will show you how we bring the factory floor to your screen.