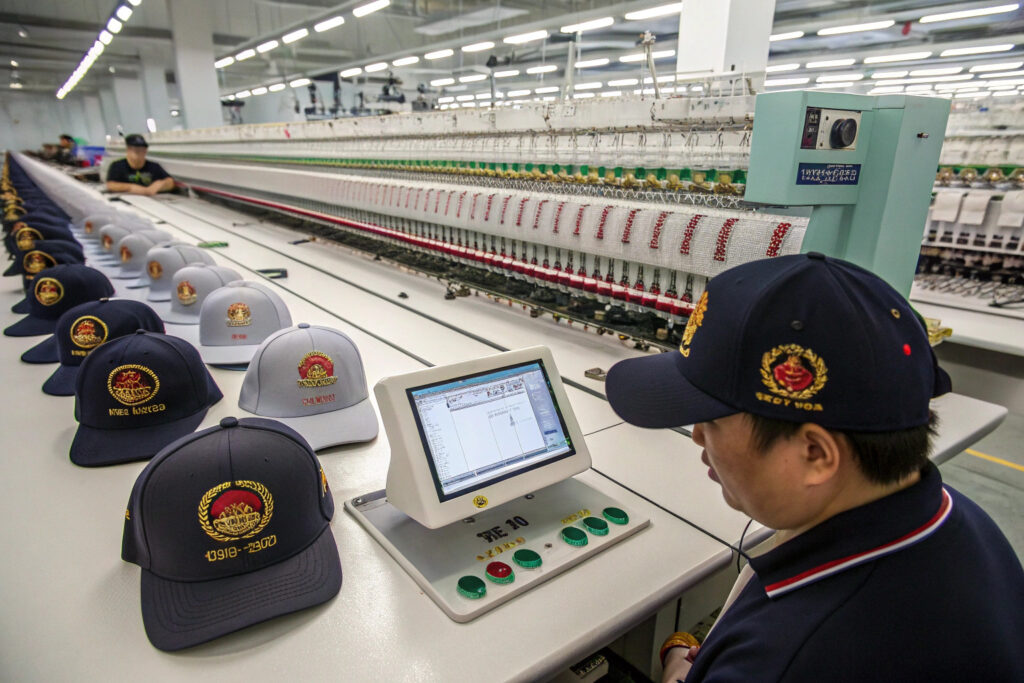
You launch a brand. The sample embroidery is flawless. The stitches are tight. The outline is sharp. You place a 50,000-unit order. The bulk shipment arrives. Every tenth cap has a loose thread. The logo registration drifts 2 millimeters on 5,000 pieces. Your retail buyer rejects the shipment. The factory blames the machine speed. You blame the factory. The truth is, consistency at scale is a different sport than a perfect sample.
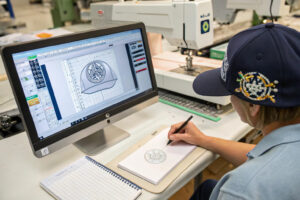
A professional snapback hat factory can deliver consistent embroidery on 50,000 units if it uses multi-head industrial embroidery machines with automatic thread tension control, a single digitized file locked after sample approval, and an in-line inspection system that checks every 50th piece. The factory must also standardize the hooping process. A 2-millimeter shift in the hoop placement creates a visible logo migration across the run. The embroidery machine operator is not an artist. They are a machine pilot. The skill is in the setup, not the running.
I run 50,000-unit embroidery orders regularly for department store brands. The reject rate on my floor is under 0.5 percent for embroidery defects. I achieve this not by hiring better sewers. I achieve this by removing the human variability from the process.
How Do Multi-Head Embroidery Machines Maintain Stitch Consistency?
A single-head embroidery machine is for samples. A multi-head machine is for bulk. Twelve caps are embroidered simultaneously from one digital file. If the file is flawed, twelve caps are ruined at once. If the machine tension drifts on head number seven, that head produces twelve bad caps before anyone notices. The machine is a beast. It demands constant monitoring.
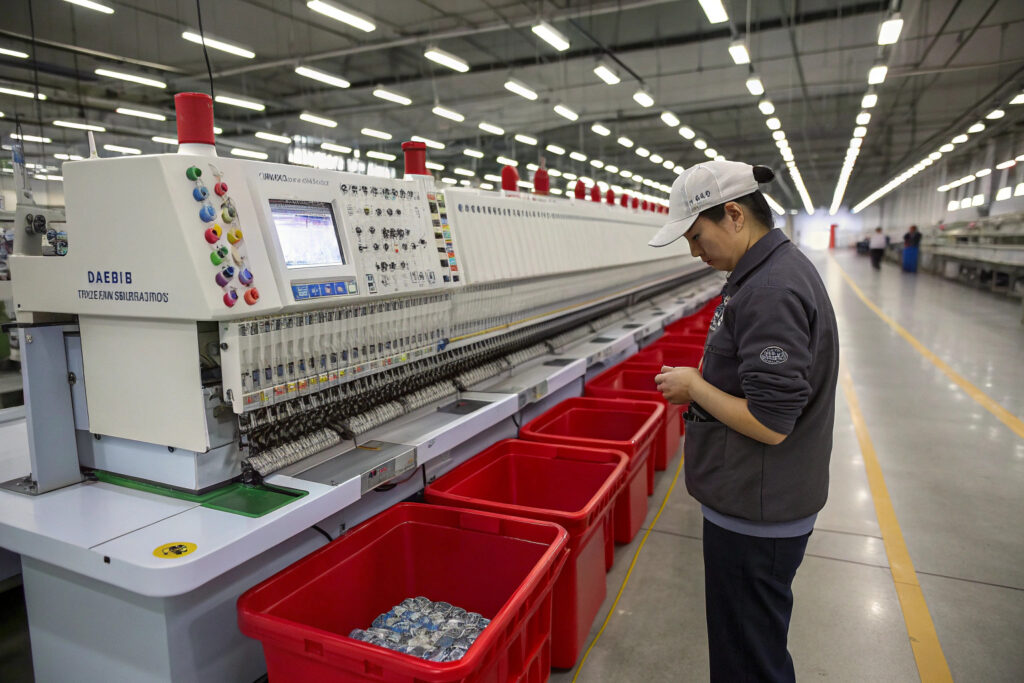
Multi-head embroidery machines maintain stitch consistency through centralized tension control systems and synchronized drive motors. Each head has an independent thread tension sensor. If the top thread breaks, the machine stops instantly. The operator re-threads and resumes. The stitch file is locked in the machine's memory. The needle path is identical on every head, on every cycle. The variability comes from the thread quality, the hooping, and the operator's maintenance habits.
I use Tajima and Barudan machines. They are the Toyota and Honda of embroidery. The resale value stays high because they run for 20 years with minimal drift.
The thread itself is a variable. A cheap thread cone has slubs, thin spots, and inconsistent dye. It snaps frequently. Every snap is a stopped machine. A stopped machine costs money.
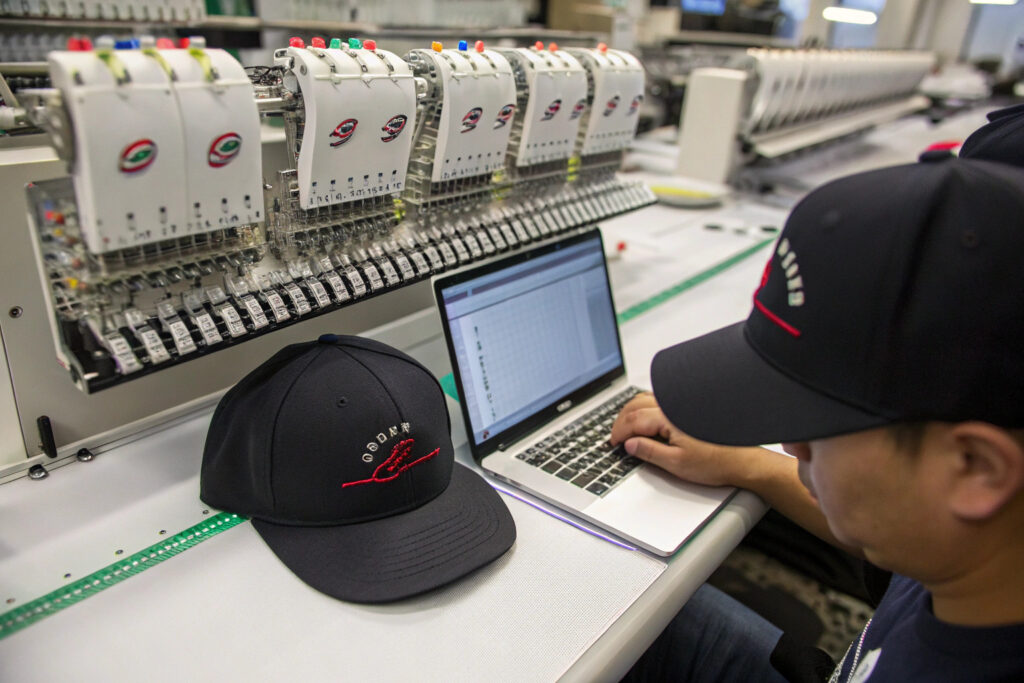
What Role Do Automatic Thread Tension Sensors Play in Large Runs?
A manual thread tension adjustment is a guess. The operator twists a knob until it feels right. On a 50,000-unit run, that guess drifts. The machine vibrates. The tension knob loosens. The bobbin runs low. The stitch tightens. The logo puckers.
An automatic thread tension sensor measures the tension in real time. A tiny load cell in the thread path sends data to the machine controller. If the tension exceeds the set tolerance, the machine beeps and stops. The operator corrects it. The machine also adjusts the tension dynamically for different stitch types. A satin stitch needs higher top tension than a fill stitch.
My automatic tension machines reduce thread breaks by 60 percent. On a 50,000-unit order, a manual machine might have 500 thread breaks. An automatic machine has 200. Each break requires 30 seconds to re-thread. The time saving is hours. The tension data log is also exportable. I can show a buyer the tension graph for their entire production run. It is a flat line, not a mountain range.
How Does a Centralized Lubrication System Prevent Machine Downtime?
An embroidery machine runs at 1,000 stitches per minute. The needle bar reciprocates 16 times a second. Metal rubs against metal. Without oil, the parts seize. A seized machine stops the line. The bearing burns out. The repair takes two days.
A centralized lubrication system pumps a precise amount of oil to every moving part on a timer. A reservoir on the side of the machine feeds small tubes that drip oil onto the needle bars, the rotary hooks, and the drive shafts. The operator just keeps the reservoir full. The machine oils itself.
I run a centralized oiling system on all my multi-head machines. The oil is a specific grade for high-speed textile machinery. It is clear, so it does not stain the caps. The system runs a purge cycle every 8 hours. The downtime for lubrication on a manual machine is 30 minutes per shift. On an automatic system, it is zero. Over a 50,000-unit run, that is a full shift of production saved.
What Is an Embroidery Strike-Off and Why Must It Match the Bulk Run?
You sign off on a sample. The logo is perfect. The sample was sewn on a single-head machine by the factory's best digitizer. The thread was premium. The machine speed was slow. The bulk order is sewn on a 12-head machine at 1,000 stitches per minute by a shift operator. The thread is a bulk cone. The sample and the bulk are two different products. You approved a hand-made promise. You received a factory-made reality.
An embroidery strike-off is the first production piece off the bulk machine using the bulk thread and the bulk backing. It must be approved separately from the initial sample. The strike-off proves the design can be manufactured at speed and scale. If the strike-off shows loose stitching or thread breaks, the digitizing file must be adjusted for the higher speed.
I require every client to approve a strike-off before we cut the bulk fabric. The strike-off is sewn on the actual bulk cap body. It is the contract. The bulk run must match the strike-off, not the sample.
The backing material and the stitch density are the two variables that change most between sample and bulk. The sample maker uses the best backing. The bulk operator uses the cheapest unless told otherwise.
Why Does the Choice of Embroidery Backing Affect Consistency on Snapbacks?
The backing is the hidden layer behind the embroidery. It stabilizes the fabric. It prevents the stitches from sinking into the cap crown. A snapback cap front panel is thick. It has a buckram stiffener. The needle must punch through the face fabric, the buckram, and the backing.
A tear-away backing is cheap. It is used for samples. The operator tears it off after sewing. On a bulk run, the tearing action distorts the stitches. The logo stretches. A cut-away backing is left in place. It permanently stabilizes the embroidery. It prevents distortion during washing.
I use a cut-away backing on all my snapback bulk runs. It adds $0.03 per cap. It eliminates the post-embroidery distortion. I also use a topping film on textured fabrics like wool blends. The film sits on top of the cap. The needle stitches through it. It prevents the stitches from sinking into the pile. The film dissolves in water. The result is a sharp logo on a fuzzy surface.
How Do You Test Stitch Density on the First Bulk Piece Versus the 50,000th?
The first piece off the machine is pristine. The needle is sharp. The thread path is clean. The 50,000th piece is sewn after hundreds of thousands of stitches. The needle is worn. The bobbin case is full of lint. The stitch density might be lower because the needle point is dull and deflects the fabric.
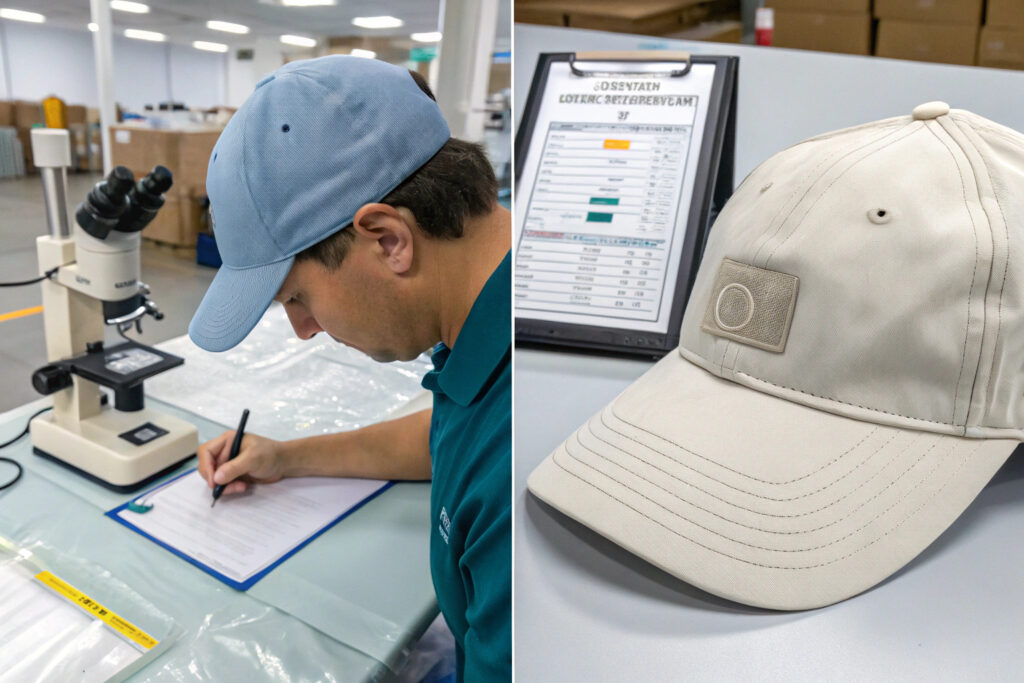
I test stitch density by pulling the first piece and then pulling a piece every 500 units thereafter. The inspector places the cap under a digital microscope. The software counts the stitches per inch in both the fill and the satin areas. The count is compared to the approved strike-off.
The tolerance is plus or minus 5 percent. If the strike-off has 40 stitches per inch, the bulk must have between 38 and 42. If the count drifts to 36, I stop the line and change the needle. A dull needle is the most common cause of stitch density drift. I mandate a needle change every 8 hours of run time. The needle cost is $0.50. The rejected batch cost is $5,000.
How Do Inline QC Checks Catch Embroidery Defects Before They Scale?
The factory waits until the order is finished. Then the QC team inspects a random sample. They find 200 caps with logo defects. The entire order is already packed. The factory must unseal 200 cartons, find the matching serial number caps, repair them, and repack them. The shipment is delayed by a week. The buyer is furious. End-of-line inspection is a post-mortem. Inline inspection is preventive medicine.
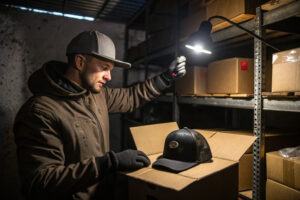
Inline QC checks catch embroidery defects before the cap leaves the embroidery station. The inspector stands at the end of the machine row. Every 50th cap is pulled and inspected immediately. If a defect is found, the machine is stopped. The root cause is identified and fixed. The defective caps are stripped and re-embroidered. The remaining caps in the batch are fine.
I place my inline QC staff at three points: after hooping, after embroidery, and after backing trim. They catch 95% of defects within 5 minutes of the defect occurring. The batch is never more than 50 units contaminated.
The hooping step is the most common source of placement drift. The operator places the cap on the hoop frame. A millimeter of misplacement creates a visible logo tilt.
What Is a Hooping Jig and How Does It Ensure Consistent Logo Placement?
A hooping jig is a physical template that guides the operator's hand. It is a metal or plastic plate with a cutout exactly matching the cap front panel. The cap is placed on the jig. The hoop frame snaps into position over the jig. The cap is held in perfect alignment. The operator cannot misplace it.
Without a jig, the operator hoops the cap by eye. They look at the center seam. They guess the distance from the visor. On a 50,000-unit run, the guess drifts. The logo placement varies by 2 to 3 millimeters. The eye notices a 2-millimeter variation on a snapback front panel.
I use a custom hooping jig for every logo placement. The jig is laser-cut from acrylic. It has a locating pin that aligns with the center front seam. The hoop frame has a matching hole. The operator places the cap on the jig, snaps the hoop closed, and removes the jig. The logo is perfectly positioned every single time. The jig cost is $50. The placement consistency is priceless.
How Often Should a QC Technician Calibrate a Placement Template?
A placement template is the master reference. It is a clear acrylic sheet with a crosshair and a logo outline etched into the surface. The inspector places the template on the embroidered cap. The crosshair aligns with the center seam. The logo outline shows the acceptable tolerance zone.
The template itself can wear. It is handled hundreds of times. The edges get chipped. The crosshair gets scratched. A worn template becomes an inaccurate reference. The inspector passes caps that should fail.
I calibrate the placement template every Monday morning. The QC supervisor places the template on a calibrated grid mat and checks the crosshair alignment with a magnifying loupe. If the template is worn, it is replaced. The old template is destroyed to prevent accidental reuse. The calibration log is signed and dated. This is an ISO 9001 procedure. It feels bureaucratic, but it prevents a slow drift in placement standards across a 50,000-unit order.
What Thread Types Prevent Breakage and Color Fading on Bulk Orders?
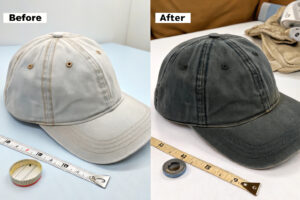
The factory uses cheap spun polyester thread. It looks shiny on the sample. On the bulk run, it snaps every 200 stitches. The operator spends more time re-threading than embroidering. After 10 washes, the thread color fades from bright red to pale pink. The customer returns the cap. Thread is 2% of the cap cost. It causes 80% of the embroidery headaches.
The best thread types for bulk snapback embroidery are high-tenacity continuous filament polyester with a silicone lubricant finish and a colorfastness rating of Grade 4 or higher. Continuous filament thread is smoother than spun thread. It has fewer loose fibers. It passes through the needle eye with less friction. The silicone lubricant reduces the needle heat. The high tenacity prevents breakage at high speed.
I buy my thread from Madeira and Gunold. They are the two German brands that dominate the professional embroidery thread market. The cost is 30% higher than generic thread. The breakage rate is 80% lower.
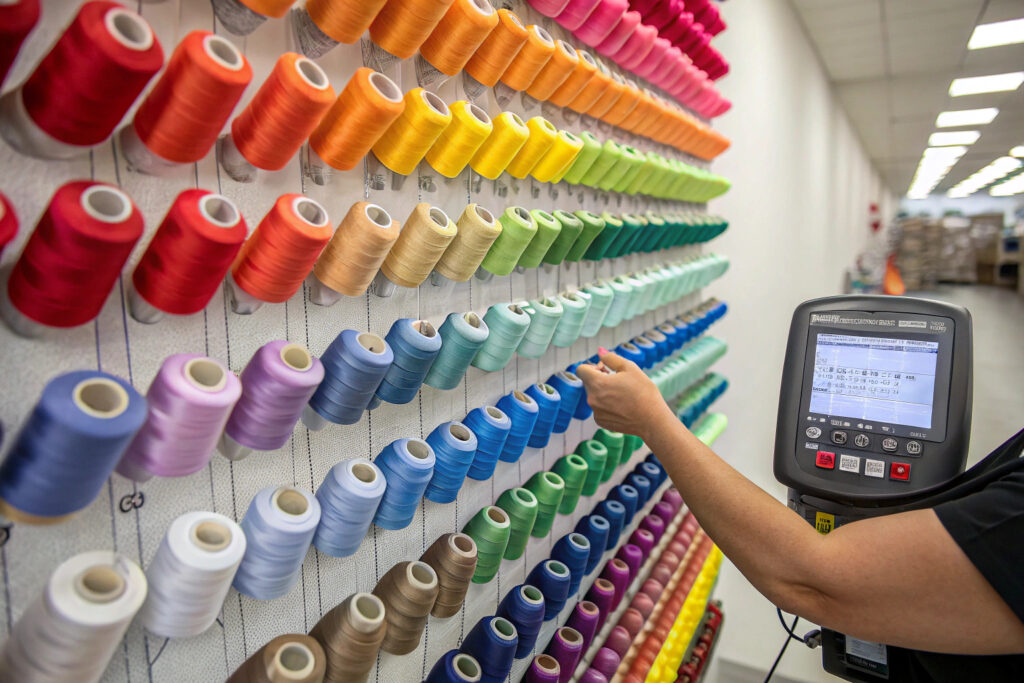
The thread fiber structure and the dye chemistry determine the run time between breaks and the color life after washing.
What Is the Difference Between Spun Polyester and Continuous Filament Thread?
Spun polyester thread is made from short staple fibers twisted together. It looks like cotton thread. It has a fuzzy surface. The fuzzy fibers rub against the needle eye and create friction. The friction heats the needle. The hot needle cuts the thread. The thread snaps.
Continuous filament polyester thread is made from one long, unbroken filament. It is smooth like fishing line. There are no short fibers to create fuzz. The friction is lower. The needle runs cooler. The thread snaps less. The stitch looks glossier and sharper.
I use continuous filament for all bulk embroidery runs. The stitch definition is cleaner. The machine runs faster. The operators are less stressed. The only downside is the cost. Spun polyester is cheaper. But the machine downtime and the reject rate from thread breaks wipe out the savings. The math is clear. Continuous filament wins for any order over 1,000 units.
How Does a UV-Resistant Dye Protect the Embroidery on Outdoor Caps?
A snapback cap worn at a music festival in July sits in direct sunlight for 8 hours. The UV radiation breaks the chemical bonds in the dye molecule. The red logo fades to orange. The black logo fades to grey. The cap looks old after one event.
A UV-resistant dye has a chemical stabilizer built into the dye formula. The stabilizer absorbs the UV photon before it breaks the dye bond. The color stays true. The standard test is the AATCC 16 colorfastness to light test. The fabric is exposed to a xenon arc lamp for 40 hours. A Grade 4 rating means the color change is slight, acceptable for outdoor use.
I demand UV-resistant thread for all caps destined for outdoor retail. The thread supplier certifies the lightfastness grade. I also test a sample swatch in my own UV chamber before confirming the bulk thread. A faded logo is a brand quality complaint. The thread is the first thing the customer sees. It must look as bright on day 365 as it did on day one.
Conclusion
A snapback hat factory can deliver consistent embroidery on 50,000 units. The capability exists. The question is whether the specific factory has the systems to execute it. You must look for multi-head industrial machines with automatic thread tension and centralized lubrication. You must demand a bulk strike-off approval separate from the initial sample. The strike-off proves the design works at speed with bulk materials.
You must verify the inline QC process. A hooping jig ensures every cap is placed identically. A placement template is calibrated weekly. An inline inspector pulls every 50th piece. The stitch density is measured under a digital microscope and compared to the approved standard. The backing is cut-away, not tear-away, to prevent post-production distortion.
The thread is continuous filament polyester with a silicone finish, not spun polyester. The dye is UV-resistant, tested to AATCC 16 Grade 4. The needle is changed every 8 hours. The maintenance log is transparent.
Consistency at scale is an investment in equipment and process. It is not a prayer. It is a science. At Global-Caps, we have built this science into our factory floor. Our embroidery department runs 50,000-unit orders with a defect rate under half a percent. We do it by removing the guesswork.
If you have a large snapback order and you cannot afford inconsistency, let's talk. Contact our Business Director Elaine. She can arrange a video tour of our embroidery floor, show you our inline QC stations, and send you a strike-off sample for your approval. Email Elaine at elaine@fumaoclothing.com. Let's stitch your logo 50,000 times, perfectly.