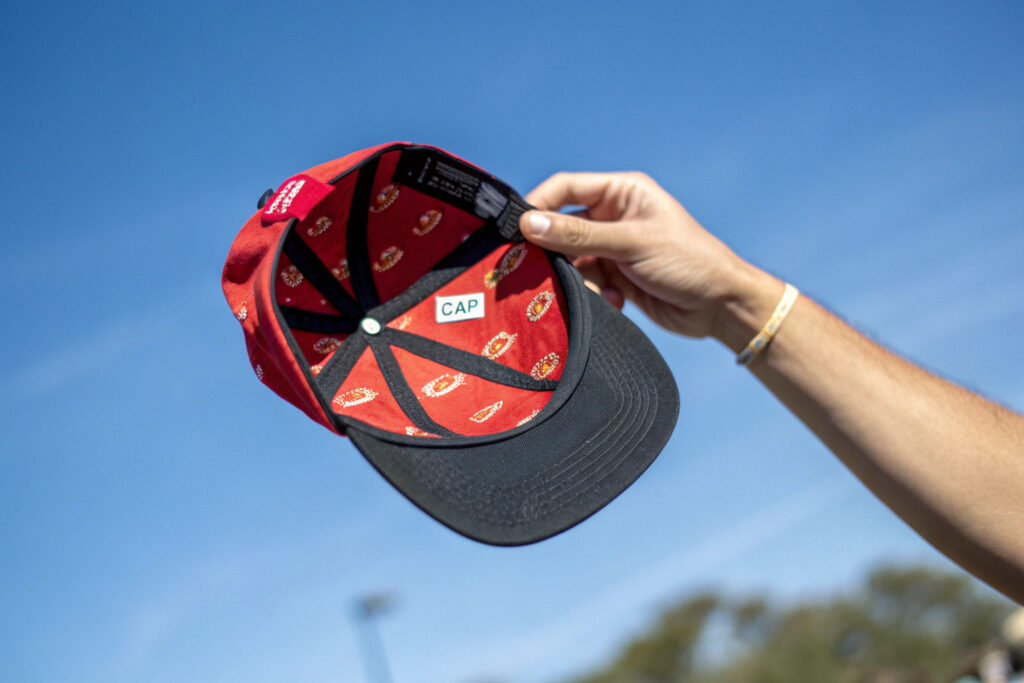
You have seen the look. A cap tilts up, and instead of a plain, dull grey underside, the visor reveals a burst of color: a branded pattern, a contrasting solid hue, a hidden message. It is a premium detail, a surprise-and-delight moment that elevates a basic cap into a statement piece. You decide this is the signature detail for your next collection. You send the specification to your factory: "Under-visor: contrast print with our logo." The sample arrives. The print is crooked. The logo is distorted, stretched into an oval. The edges are fuzzy. The color is not the vibrant contrast you specified. It looks like a rushed afterthought, not a premium feature.
The under-visor is one of the most technically challenging areas of a cap to print. It is curved, not flat. It is a different material than the crown, often a non-woven fabric or a smooth polyester. It is assembled after printing, which means the print must survive the bending, stitching, and steaming of the finishing process. I run Global-Caps, and I have produced thousands of caps with branded under-visor prints. Getting this detail right consistently requires specific material choices, precise print methods, and strict quality control at a production stage most factories treat as an afterthought. In this article, I will walk you through the exact specifications and processes that ensure your under-visor print is sharp, durable, and exactly as you designed it.
What Are the Best Printing Methods for Under-Visor Contrast Designs?
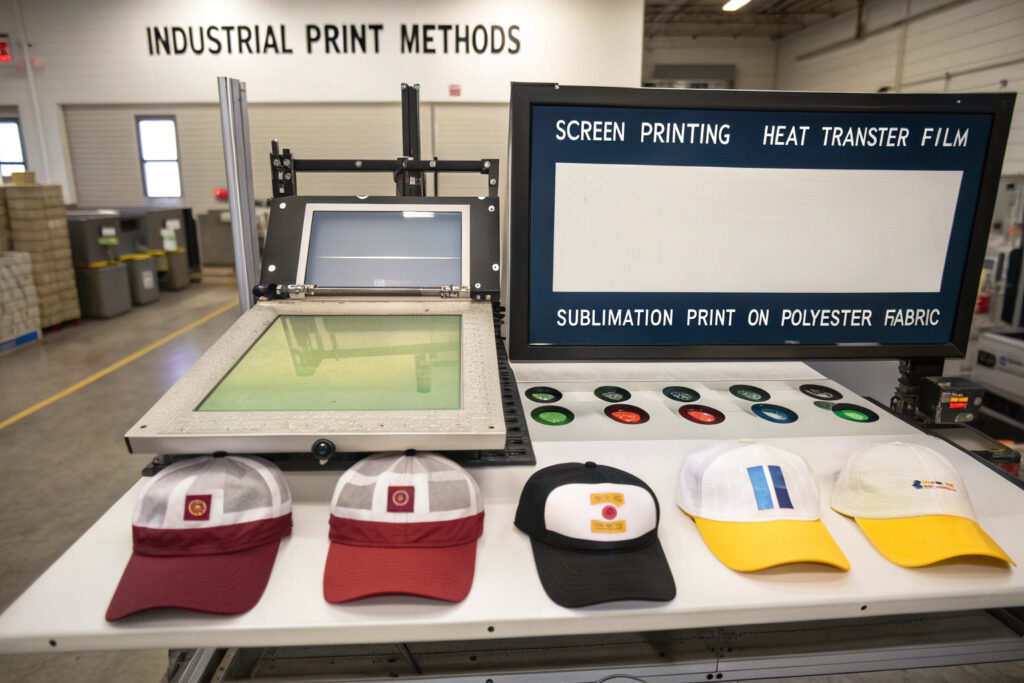
The under-visor is not a flat t-shirt. It is a three-dimensional, curved surface that will be bent, stitched, and exposed to heat and moisture. The printing method you choose determines the print quality, durability, and cost. Not all printing methods are suitable for this specific application. The three most reliable methods for under-visor printing are curved screen printing, heat transfer film application, and sublimation printing. Each has distinct advantages and limitations.
Curved screen printing uses a screen that is shaped to match the curve of the visor. The visor insert or the pre-assembled cap is placed on a curved platen. The screen, with the design burned into it, is lowered onto the curved surface. A squeegee is drawn across the screen, pushing ink through the mesh onto the visor material. This method produces a thick, opaque ink layer with excellent color saturation. It is the most common method for solid color contrast prints, such as a bold, opaque white or neon green logo on a dark visor. The limitation is detail. Fine lines and small text can be challenging on a curved screen. Multi-color designs require multiple screens, each with a curved profile, which increases the setup cost and the registration difficulty.
Heat transfer film application uses a pre-printed design on a carrier film. The design is printed flat, using digital printing, screen printing, or flexographic printing on a release film. The film is then positioned on the visor, and a contoured heat press applies heat and pressure. The ink layer is transferred from the film to the visor material, and the carrier film is peeled away. This method produces sharp, high-resolution prints with fine detail. It is excellent for multi-color designs, photographic images, and intricate logos. The film can conform to the visor curve when the heat press is properly contoured. The limitation is the hand feel. The transferred ink layer can feel slightly rubbery or plastic-like on the visor surface. It is also more susceptible to peeling if the adhesion is not properly cured.
Sublimation printing is a gas-transfer process. The design is printed onto a transfer paper using special sublimation inks. The paper is placed against a polyester visor material or a polyester-coated visor. Heat and pressure are applied. The solid ink converts directly to a gas, penetrates the polyester fibers, and solidifies within the polymer structure. The print is not a surface layer. It is embedded within the material. It has zero hand feel, cannot peel or crack, and is completely durable. The limitation is that sublimation only works on polyester or polymer-coated surfaces. It does not work on cotton or standard non-woven visor materials. The base color of the visor must be white or light for the colors to be vibrant, as the ink is translucent and the substrate color shows through.
How Does the Visor Material Affect the Choice of Print Method?
The standard under-visor material on most caps is a non-woven polypropylene fabric, often grey or black. This material is inexpensive, durable, and has a soft, fabric-like hand feel. It is not suitable for sublimation printing because polypropylene does not accept sublimation dyes. Screen printing and heat transfer are the options for standard non-woven visors.
If you want to use sublimation printing for a vibrant, embedded print, the visor material must be a white polyester woven fabric or a white polyester-coated non-woven. This material upgrade allows sublimation and produces a brighter, more durable print. The cost is moderately higher. For a premium cap, the material upgrade is worth the print quality. I always discuss the visor material choice with clients at the design stage. The material decision opens or closes the printing method options.
What Is the Durability of Each Print Method on the Under-Visor?
The under-visor is a high-wear surface. It is constantly handled when the cap is put on and taken off. Fingers grip the visor. Sweat and skin oils transfer to the surface. The visor is flexed repeatedly. The print must survive this abuse without cracking, peeling, or fading. Sublimation printing is the most durable. The color is inside the fiber, not on top of it. It cannot peel or crack. It will fade only as the polyester itself degrades from years of UV exposure. Heat transfer film is durable if the adhesion is fully cured and a high-quality transfer film is used. Poor adhesion leads to edge peeling after repeated flexing. Screen printing with a quality plastisol or silicone ink is durable, but a thick ink layer can crack if the visor is flexed aggressively. Adding a stretch additive to the ink improves flexibility. I specify a stretch additive for all under-visor screen prints.
What Artwork Specifications Ensure a Sharp, Distortion-Free Under-Visor Print?
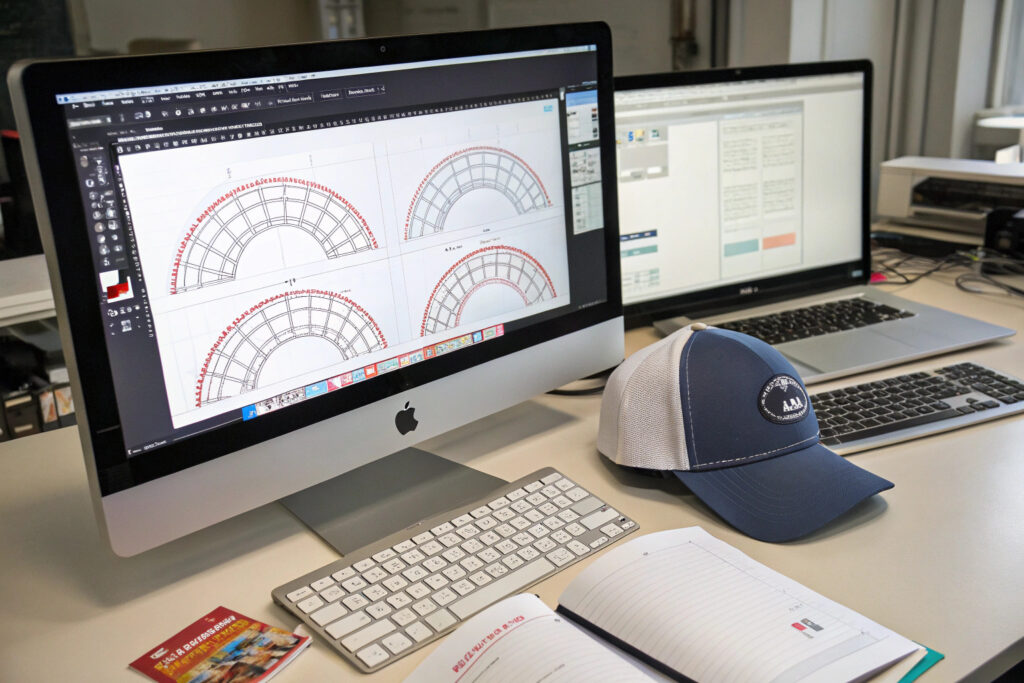
The under-visor is a curved surface, shaped like a shallow crescent. Printing a flat design onto a curved surface inherently creates distortion. The center of the design, which is printed at the crown of the curve, will appear compressed. The edges, which are printed on the flatter wings of the visor, will appear stretched. If you provide a standard, flat artwork file, the factory will print it flat on a curved platen, and the result will look distorted on the finished, curved visor.
The solution is to provide the artwork pre-distorted for the specific visor curvature, or to work with a factory that has the software and expertise to apply the distortion correction. The pre-distortion is a mathematical transformation. The central area of the artwork is stretched horizontally. The outer areas are compressed horizontally. When this pre-distorted artwork is printed on the curved visor, the physical bending of the visor reverses the pre-distortion, and the design appears visually correct and undistorted to the human eye.
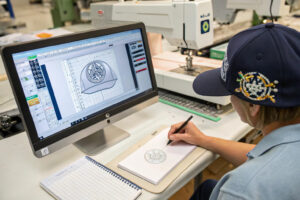
The best practice is to provide the factory with a flat vector artwork file and a dimensioned placement diagram that shows the desired position and size of the print on the visor. The diagram should specify the distance from the visor tip, the distance from the stitching line, and the overall print width. The factory then uses specialized software, such as CAD plug-ins for curved surface printing, to apply the correct distortion map for their specific visor curve. Alternatively, the factory can provide you with a distortion template, a flat file that shows the distorted boundary of the printable area on their specific visor curve. You warp your artwork to fit this template. This is the most accurate method and is what I recommend for critical, high-detail designs.
How Do I Create a Repeating Pattern for an Under-Visor Print?
A repeating logo pattern is a popular under-visor design. The brand's logo or icon is tiled across the visor surface. The pattern must repeat seamlessly and must be correctly scaled. The scale is critical. A pattern that is too large will show only one or two partial logos on the visor, losing the repeating effect. A pattern that is too small will become a busy, indistinct texture.
The ideal repeat size for an under-visor pattern is 20mm to 30mm. This allows for multiple full repeats across the visor, creating a clear, legible pattern. The artwork should be provided as a seamless repeating tile, with the tile dimensions specified. The repeat direction should be aligned with the visor curve. A horizontal repeat across the visor is standard. I recommend providing the repeat tile as a vector file and letting the factory's design team step and repeat it across the distortion template.
What Are the Key Dimensions and Placement Tolerances for Under-Visor Prints?
The print placement must be consistent from cap to cap. A print that is 5mm too far left or right, or 3mm too close to the stitching line, is visually unacceptable. The placement tolerances must be specified in the tech pack. Standard tolerances for under-visor print placement are plus or minus 2mm horizontally and vertically. The placement is measured from a fixed reference point on the visor. The most reliable reference is the center front tip of the visor and the brim stitching line.
The print should be positioned between 10mm and 15mm back from the tip of the visor, and between 5mm and 8mm up from the brim stitching line. This creates a clean, framed margin around the print. The tech pack should include a dimensioned diagram showing these margins. During production, the QC inspector uses a transparent template overlay or a digital caliper to verify the placement on a random sample of visors.
How Do You Control the Print Quality on Curved Visor Surfaces During Production?
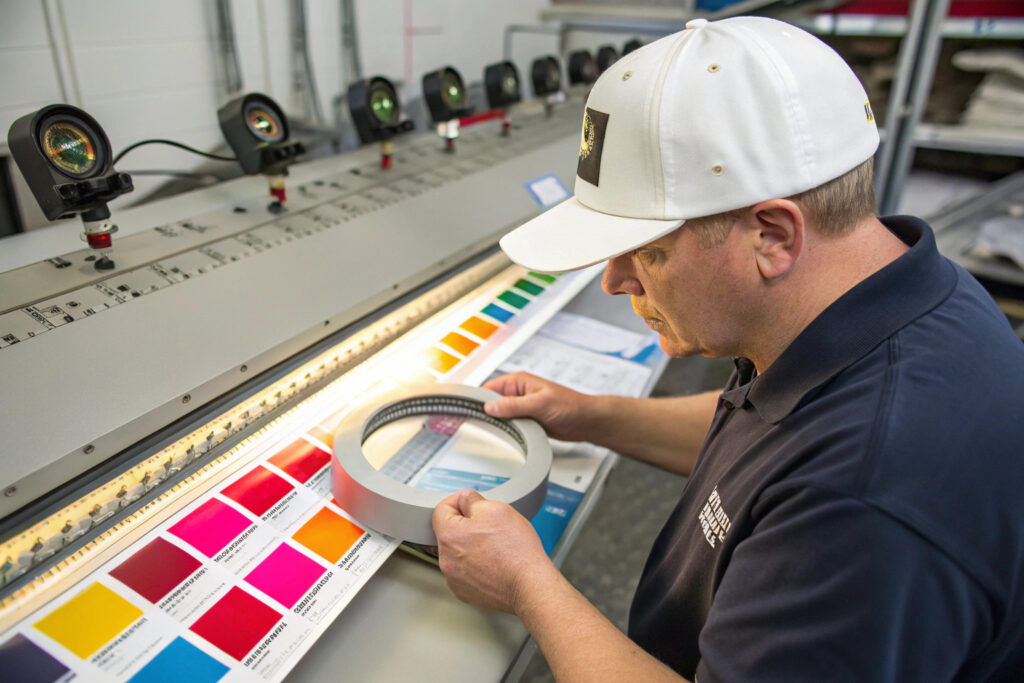
Consistency across thousands of caps is the real challenge of under-visor printing. The print process must be controlled not just at the final inspection, but at every stage of production. The visor material must be consistent. The ink or film must be consistent. The platen or heat press must be consistent. The operator must be consistent. Variation at any stage produces a percentage of defective prints.
The process begins with material control. The visor material batch must be checked for surface smoothness and color consistency. A textured or inconsistent surface will cause ink adhesion variation. The visor inserts must be cut consistently. A batch of inserts that varies in curvature will cause print distortion variation. The inserts should be die-cut from the same material lot and checked with a curvature gauge before printing. The printing platen or heat press tooling must be calibrated at the start of each shift. The platen curvature must match the visor curvature. A worn or damaged platen will produce misregistered prints. The first-off print of each shift is compared against the gold-seal sample. If the first-off fails, the machine is adjusted before production resumes.
Ink or film adhesion is tested at the beginning of each production run and periodically throughout. A tape test is the standard. A piece of high-tack adhesive tape is pressed firmly onto the printed area and then pulled away sharply. The print should not lift or transfer to the tape. If any ink lifts, the curing parameters, heat, dwell time, must be adjusted. This test is simple, fast, and highly predictive of field durability. I require tape tests every two hours during under-visor printing runs.
How Do You Prevent Print Damage During the Visor Assembly Process?
The under-visor print is applied to the visor insert before the visor is assembled to the cap crown. The printed insert then goes through several aggressive manufacturing steps. It is stitched to the crown fabric along the brim curve. The stitching machine's presser foot rubs against the printed surface. The finished cap is steam-pressed to set the brim curve. The steam and heat can affect the ink.
The assembly process must be engineered to protect the print. The visor should be sewn with the printed side facing down, away from the presser foot, if the machine configuration allows. A protective tissue paper can be placed between the presser foot and the print. The steam pressing cycle must be validated for the specific ink or film. Some inks can soften and stick to the pressing mold if the temperature is too high. The pressing temperature and dwell time must be tested on a printed sample before bulk production. I conduct a full assembly simulation on a printed visor sample before approving the production process.
What Is the Role of the Pressing and Finishing Step in Print Longevity?
The final steam pressing of the cap sets the brim curve and gives the cap its finished shape. This heat and moisture cycle is also a secondary curing step for some inks. The heat from the press can drive off residual solvents and complete the cross-linking of the ink polymer, improving adhesion and durability. However, if the temperature is too high, the ink can over-cure and become brittle, or under-cure and remain soft and tacky.
The pressing parameters, temperature, pressure, and dwell time, must be specified and controlled. I use a lower temperature and a longer dwell time for printed visors to ensure gentle, even curing without thermal shock. The pressed caps are then cooled on a rack before packing. Packing a warm, freshly pressed cap into a polybag can trap heat and moisture, causing the print to stick to the polybag. The cooling step is essential and often skipped in rushed production.
Conclusion
Ensuring a perfect contrast branded print on the under-visor of your custom cap requires a systematic approach that spans material selection, print method choice, artwork engineering, and production process control. The visor material must be compatible with the chosen print method, whether that is a standard non-woven for screen printing and heat transfer, or a polyester surface for sublimation. The artwork must be pre-distorted or mapped to the curved visor geometry, with specified placement tolerances referenced from the visor tip and brim seam. The production process must include first-off approvals, regular adhesion tape tests, and controlled pressing and cooling stages to protect the print through assembly and finishing.
The under-visor print is a premium detail that communicates brand thoughtfulness and quality. When executed correctly, it delights the customer every time the cap is tilted up. When executed poorly, it looks like a manufacturing error. The difference is in the specifications and the process controls you demand from your factory.
If you are ready to add a contrast under-visor print to your custom cap line and want a manufacturing partner with proven expertise in this challenging detail, I invite you to contact Global-Caps. We have the curved screen printing, heat transfer, and sublimation capabilities in-house. We can provide you with distortion templates for your artwork, a print method recommendation based on your design and budget, and a pre-production sample with a fully tested under-visor print. Reach out to our Business Director, Elaine, at elaine@fumaoclothing.com with your design concept. Let's create a hidden detail that turns every cap tilt into a brand moment, sharp, durable, and perfectly placed.