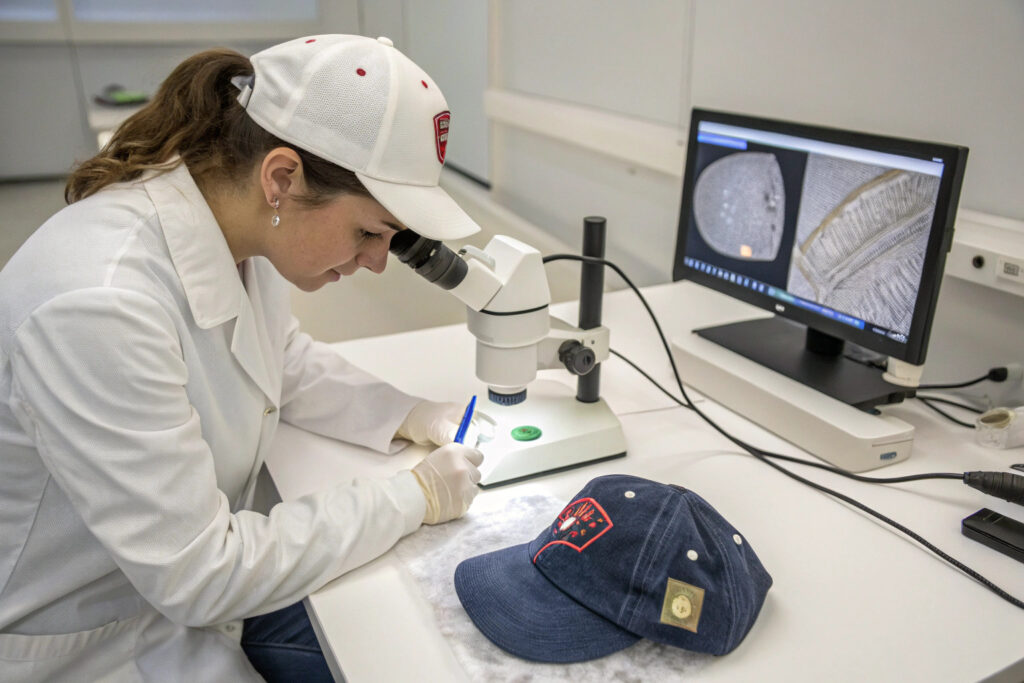
I stood behind one of my embroidery operators three years ago, watching her pull a finished cap off the machine. The logo was crisp. The thread tension was perfect. But when I turned the cap inside out and held the back of the embroidery up to the light, I saw a constellation of tiny pinholes where the needle had pierced the fabric. The holes were not visible from the front. But I knew that after three washes, those tiny perforations would widen. The fabric would fray. The logo would loosen. The cap would fall apart. I stopped the production line. We replaced the needle and re-digitized the file. I rejected 200 finished caps that had already been packed. The operator was upset. She thought I was being too strict. I told her that a needle hole is a structural defect, not a cosmetic one. The customer does not see it on day one. They see it on day thirty. And on day thirty, it is a warranty return.
Needle damage on an embroidered cap is a quality failure when it creates any of four conditions. Condition one: visible perforations or puncture holes in the fabric that are not part of the intended embroidery design. Condition two: broken, cut, or distorted fabric fibers surrounding the embroidery that weaken the structural integrity of the cap panel. Condition three: a "ring" of raised, puckered, or permanently stretched fabric around the embroidery caused by a dull or oversized needle pushing fibers apart rather than parting them. Condition four: the needle has penetrated entirely through a structured cap's buckram backing and created a hole visible from the inside or outside of the front panel. These four conditions are not subjective aesthetic judgments. They are measurable, verifiable fabric damage that reduces the durability and the appearance of the cap. A cap with any of these conditions should be rejected at the inline inspection, not shipped to the customer.
I have trained our QC team to inspect embroidery not just for stitch quality but for needle health. The needle is a consumable tool. It wears down. It damages fabric when it is not replaced on schedule. I want to share the specific needle damage types, their causes, the inspection methods for detecting them, and the needle maintenance protocols that prevent them from occurring in the first place. This is the difference between embroidery that lasts the life of the cap and embroidery that destroys it.
What Are the Visible Signs of Needle Damage on Embroidered Fabric?
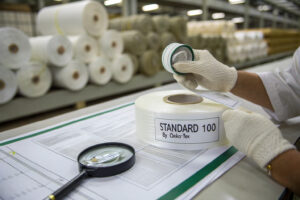
Needle damage leaves a signature on the fabric. You do not need a microscope to see most of it, but a simple magnifying glass or a digital microscope connected to a tablet makes the inspection faster and more definitive. The damage signatures fall into three visual categories: hole enlargement, fiber severance, and fabric distortion. Each category has a specific visual appearance and a specific root cause.
Hole enlargement is the most common and most overlooked form of needle damage. In a properly embroidered cap, the needle pierces the fabric cleanly, the thread fills the hole, and the fabric fibers close around the thread. The needle hole is essentially invisible. When the needle is dull, bent, or oversized for the fabric weight, it does not pierce cleanly. It punches through, tearing the fibers and creating a hole that is larger than the thread diameter. This leaves a visible gap around each stitch penetration. The gap is visible from the front as a tiny shadow around each stitch. It is visible from the back as a pinhole when held up to light. Fiber severance occurs when the needle, instead of sliding between the yarns of the woven or knitted fabric, cuts through them. Under magnification, you see cleanly cut fiber ends sticking up around the stitch hole. The fabric has been damaged, not just penetrated. This damage is permanent. The fibers will not heal. The hole will enlarge with washing and wearing. Fabric distortion occurs when a dull needle pushes the fabric down into the needle plate hole rather than piercing through. This creates a puckered, raised ring around the embroidery area. The fabric looks like it has been stretched from below. This distortion is often accompanied by thread tension problems because the fabric is not stable during stitch formation. The three damage types often occur together. A dull needle tears fibers, enlarges holes, and distorts the fabric simultaneously. The embroidery needle damage patterns are well-documented in machine embroidery technical literature.
The visual inspection catches the damage. But the inspector must know where to look. The most severe needle damage often hides on the back of the embroidery, where the needle exits the fabric. The back-of-fabric inspection is a mandatory step that many QC checklists miss.
Why Is the Back of the Embroidery the Most Important Inspection Surface?
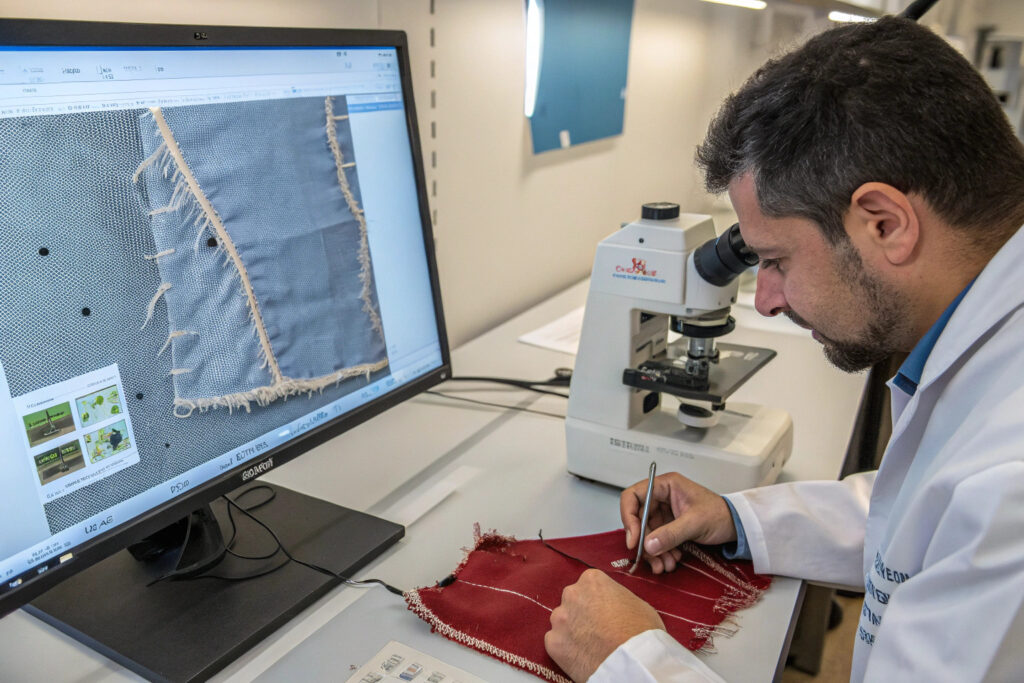
The front of the embroidery is covered by thread. The top stitches and the underlay stitches form a dense, decorative surface that conceals the needle penetration points. The back of the embroidery reveals the raw needle holes. On the back, the bobbin thread forms a lighter, less dense surface. The needle holes are visible between the bobbin stitches. If the needle has torn the fabric, the enlarged, jagged holes are clearly visible on the back.
I train our QC inspectors to turn every embroidered cap inside out and inspect the back of the embroidery under a bright light. They look for light shining through the needle holes. A properly embroidered cap shows no light through the back of the stitches. A damaged cap shows a pattern of pinholes of light, often clustered where the stitch density is highest or where the needle penetrated at an angle near a seam. This back-of-embroidery inspection technique catches needle damage that is invisible from the front.
How Can a Light Box Test Detect Needle Holes Invisible to the Naked Eye?
A light box test is a simple, low-cost method for detecting needle holes. Place the embroidered area of the cap over a bright, diffused light source. A light box used for tracing or a bright tablet screen displaying a white image works well. In a darkened room, the light shining through the fabric will reveal any perforations as bright pinpoints. Even very small holes that are difficult to see under room light become immediately obvious.
I keep a small LED light box in our QC inspection area. Every first-off sample from the embroidery line goes onto the light box. If I see more than three pinpoints of light in a 10-centimeter square area of the embroidery, the needle is dull and must be replaced. The light box inspection method is standard practice for detecting fabric defects in woven and knitted textiles.
What Types of Needle Damage Are Considered Critical Quality Defects?
Not all needle holes are equally serious. A single, barely visible pinhole in a low-stress area of the cap is a minor defect. A line of perforations that have torn through the buckram is a critical defect that can cause the cap to structurally fail. The AQL, Acceptable Quality Limit, system classifies defects into three categories. Critical defects render the product unsafe or non-functional. Major defects significantly reduce the product's usability or saleability. Minor defects are slight deviations from the specification that do not materially affect the product. Needle damage can fall into any of these three categories depending on its location, severity, and extent. Your inspection protocol must define the boundaries clearly so the inspector's judgment is consistent.
I define needle damage on embroidered caps using the following AQL classification. A critical defect is a needle hole or tear that penetrates entirely through the buckram backing of a structured cap, regardless of visibility from the front. This is a structural failure. The cap's front panel has lost its internal reinforcement at that point. The hole will enlarge with use and the cap will collapse. AQL for critical defects is zero. One cap with a buckram-penetrating needle hole fails the entire inspection lot. A major defect is a cluster of five or more visible needle holes in a 5-centimeter square area, a single needle hole larger than 1 millimeter in diameter when measured on the back of the fabric, or a continuous line of perforations along a stitch path that creates a "tear on the dotted line" effect. These defects are visible to the consumer upon close inspection and will degrade with washing. AQL for major defects is 2.5. A minor defect is a single, isolated pinhole less than 1 millimeter in diameter, not in a high-stress area such as a seam intersection or the brim attachment, and not penetrating the buckram. AQL for minor defects is 4.0. This classification system is objective and measurable. The inspector uses a digital caliper to measure hole diameter and a 5-centimeter square template to count hole clusters.
The AQL classification system is the statistical framework. But the most serious needle damage defect is the one that hides inside the cap's structure. The buckram penetration defect is a critical failure that can only be detected by feeling the inside of the front panel or inspecting it under light.

Why Is Buckram Penetration a Critical Defect?
The buckram is the stiff, resin-impregnated fabric layer inside the front two panels of a structured cap. It gives the cap its shape. It holds the dome. It provides the surface for the embroidery. The needle must penetrate the outer fabric, the buckram, and the backing stabilizer. A properly set up embroidery machine adjusts the needle depth so the needle point just clears the back of the stabilizer. A needle depth set too deep, or a buckram that is thinner than the specification, results in the needle punching completely through the buckram rather than just piercing it. The hole in the buckram is a permanent structural defect. The buckram does not heal. The hole becomes a stress concentration point. When the cap is worn, the buckram flexes. The hole grows. The cap loses its shape. This is a critical defect because it leads to product failure. The consumer buys a structured cap and receives a cap that collapses. The buckram damage inspection must be part of the inline QC process, not just the final inspection.
How Do You Measure a Needle Hole to Determine Defect Classification?
Use a digital caliper set to measure the inside diameter of the hole. Place the caliper tips on the back of the embroidery, inside the hole, and measure the widest point. A hole less than 0.5 millimeters is generally considered acceptable for standard embroidery on heavyweight fabric. A hole between 0.5 and 1.0 millimeters is a minor defect if isolated. A hole greater than 1.0 millimeter is a major defect. A hole that extends through multiple fabric layers, including the buckram, is a critical defect regardless of diameter.
The measurement is taken on the back of the fabric because the front is obscured by thread. The defect measurement standard ensures consistent classification across different inspectors and different production batches.
What Embroidery Machine Factors Cause Preventable Needle Damage?
Needle damage is not an inevitable consequence of embroidery. It is a preventable result of specific machine conditions and maintenance failures. The needle is a consumable item with a finite service life. Like the blade on a cutting machine or the oil in an engine, it degrades predictably with use. When the degradation passes a threshold, it damages the product. The factory that replaces needles on a fixed schedule based on stitch count prevents needle damage. The factory that replaces needles only when they break is causing needle damage on every cap produced in the hours before the break.
The four machine factors that cause preventable needle damage are needle wear, incorrect needle size, incorrect needle point type, and excessive needle heat. Needle wear is the gradual blunting of the needle point. As the needle pierces fabric thousands of times, the sharp point rounds over. A rounded point tears fabric instead of parting it. Needle wear is a function of stitch count. A standard embroidery needle should be replaced after 8 to 10 hours of continuous operation, or approximately 200,000 to 300,000 stitches, whichever comes first. For abrasive fabrics like heavily dyed cotton twill or fabric with a heavy pigment print, the replacement interval is shorter. Incorrect needle size occurs when a needle that is too large for the fabric weight is used. A size 80/12 needle is standard for medium-weight cotton twill. A size 90/14 needle is for heavyweight fabrics. A size 75/11 needle is for lightweight fabrics. Using a size 90/14 needle on a lightweight cotton causes oversized holes. Incorrect needle point type occurs when a sharp point needle is used on a knitted fabric that requires a ball point needle. A sharp point cuts knitted loops. A ball point slides between them. Using the wrong point type causes fiber severance and runs in knitted beanies. Excessive needle heat occurs when the needle is running at high speed without adequate lubrication or cooling. The needle tip can reach temperatures that melt synthetic fibers, creating hard, glazed holes that are sharp to the touch. These four factors are controlled by the embroidery machine maintenance schedule.
The maintenance schedule prevents most needle damage. But the digitizing file itself can create needle damage even with a brand-new needle. Excessive stitch density concentrates too many needle penetrations in a small area and physically perforates the fabric into a weakened, lace-like sheet.

How Does Stitch Density Contribute to Needle Damage?
Stitch density is the number of stitches per unit area. A standard embroidery logo on a cap might have a stitch density of 4,000 to 6,000 stitches per 10 square centimeters. A complex, high-detail logo with multiple color layers and underlay stitches can exceed 10,000 stitches in the same area. Every stitch is a needle penetration. When too many penetrations are concentrated in a small area, the fabric between the holes becomes so narrow that it loses structural integrity. The fabric effectively becomes a perforated sheet. The individual needle holes connect, forming a tear.
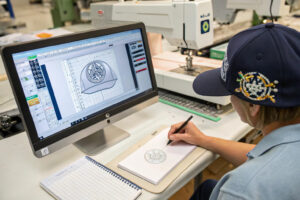
The digitizer controls stitch density. A skilled digitizer uses underlay stitches to stabilize the fabric and then uses the minimum topstitch density required to achieve the desired coverage. An unskilled digitizer compensates for poor thread coverage by increasing stitch density. The logo looks full and rich from the front, but the back reveals a perforated mess. I review the digitized stitch count before approving any new embroidery file. If the stitch count exceeds 7,000 per 10 square centimeters, I ask the digitizer to justify the density or reduce it. The embroidery digitizing density standard balances visual coverage with fabric integrity.
What Is the Correct Needle Replacement Schedule for Cap Embroidery?
A formal needle replacement schedule is a written procedure. It specifies the stitch count or operating hours at which all needles on the machine are replaced, regardless of apparent condition. I use a schedule of every 8 operating hours for standard cotton twill caps and every 6 operating hours for caps with abrasive fabrics, such as heavily pigmented or coated fabrics. The schedule is enforced by a needle change log. The embroidery operator records the date, time, machine number, and stitch counter reading at each needle change. The QC supervisor reviews the log weekly. A missed needle change is a procedural failure that triggers a corrective action report. The needle maintenance schedule is a critical control point in the embroidery quality management system.
How Should an Inline QC Inspection Detect Needle Damage Before Bulk Production?
The purpose of an inline QC inspection is to detect a process failure before it produces defective products, not after. A needle that begins to dull at 10 AM will produce damaged caps from 10:01 AM until it is replaced. If the replacement happens at the scheduled 12 PM maintenance window, two hours of damaged caps have been produced. An inline inspection that catches the dull needle at 10:15 AM limits the damage to 15 minutes of production. The inline inspection for needle damage is a targeted check performed on the first cap off the machine after startup, after every needle change, and at random intervals during the production shift.
I deploy a roving QC auditor who covers the embroidery department. The auditor carries a portable inspection kit: a handheld LED light box, a 10x magnifying lens, a digital caliper, and a needle inspection microscope. The auditor conducts three types of needle damage checks during the shift. The first is the first-off check. When a new production batch begins, the auditor inspects the first cap off each embroidery head. The cap is checked on the light box. The back of the embroidery is inspected for holes. The measurement is recorded on the first-off inspection report. If any head shows needle damage, that head's needle is replaced and the first cap is re-inspected. The second is the post-maintenance check. After a scheduled needle change, the auditor inspects the first cap off the machine to confirm the new needles are correctly installed and are not causing damage. The third is the random patrol check. At random intervals, approximately every two hours, the auditor pulls a cap from each machine and performs the light box check. If needle damage is detected, the machine is stopped, the needle is replaced, and all caps produced since the last clean check are quarantined for 100% inspection. This inline inspection protocol catches needle damage at its source and prevents a small problem from becoming a large rejected lot.
The inline inspection catches the needle damage as it happens. But the inspection is only as good as the inspector's ability to see the damage. The tools the inspector carries determine what they can detect. A light box and a magnifying lens are the minimum tools. A portable digital microscope connected to a tablet provides a level of detail that eliminates subjective judgment.

What Tools Should a QC Inspector Use for Needle Damage Detection?
The standard needle damage detection kit includes five tools. Tool one is a portable LED light box, approximately 15 centimeters by 20 centimeters, with a color temperature of 5000K to 6500K. This provides the backlight for the hole detection test. Tool two is a 10x magnifying lens with a built-in LED light. This provides the magnification for examining individual holes and fiber damage. Tool three is a digital caliper with a resolution of 0.01 millimeters. This measures hole diameter for defect classification. Tool four is a needle inspection microscope, a small handheld microscope with 50x to 100x magnification that examines the needle point for wear, burrs, and hooking. Tool five is a 5-centimeter square template, a transparent plastic card with a 5-centimeter square cutout. This is placed on the embroidery to define the area for hole cluster counting. These five tools cost less than $200 total and fit in a small carrying case. They transform a subjective visual check into an objective measurement process. The QC inspection tools for textile manufacturing are an investment in consistency.
How Should Needle Damage Findings Be Documented for Traceability?
The needle damage findings are documented on a Needle Damage Inspection Log. The log records the date, the time, the machine number, the embroidery head number, the production order number, the cap style, the fabric type, the inspection type such as first-off, post-maintenance, or patrol, the inspection result as pass or fail, a description of any defect found including the hole diameter and cluster count, the action taken such as needle replaced, and the inspector's signature. If a defect is found, a photograph of the defect is taken with the digital microscope and attached to the log entry. The log is reviewed daily by the embroidery department supervisor and weekly by the QC manager. The completed logs are filed with the production batch records and retained for the product warranty period. This quality documentation provides traceability for every embroidery production run and enables root cause analysis if a needle damage complaint is received from a customer.
Conclusion
Needle damage on an embroidered cap is a quality failure that degrades the product's durability and appearance. It is caused by dull, incorrectly sized, or incorrectly pointed needles, excessive stitch density, and inadequate machine maintenance. The damage is visible as enlarged holes, severed fibers, and fabric distortion. It is classified using the AQL system, with buckram penetration as a critical defect, visible hole clusters as a major defect, and isolated pinholes as a minor defect. The damage is detected through a systematic inline inspection protocol using a light box, magnification, and measurement tools. It is prevented by a scheduled needle replacement program and a skilled digitizing process that limits stitch density.
I treat needle damage as a process control problem, not an occasional defect. When our QC auditor finds a single cap with needle damage on patrol inspection, I do not just replace the needle. I review the needle change log to see if the replacement schedule was followed. I review the digitized file to see if the stitch density is appropriate. I review the fabric lot to see if the abrasiveness is within specification. Needle damage is a signal. It tells you something about your process. A factory that listens to the signal ships consistently undamaged caps. A factory that ignores the signal ships caps that fall apart.
If you are receiving embroidered caps with unexplained fabric damage and want a factory whose embroidery quality management system includes the needle maintenance, inspection, and documentation protocols described here, let us show you our process. Our Business Director, Elaine, can arrange a video walkthrough of our embroidery QC station, share a sample of our Needle Damage Inspection Log, and explain how we train our inspectors. Email her at elaine@fumaoclothing.com and ask for the Embroidery Quality Assurance Overview. We will demonstrate how we keep our needles sharp and your caps intact.