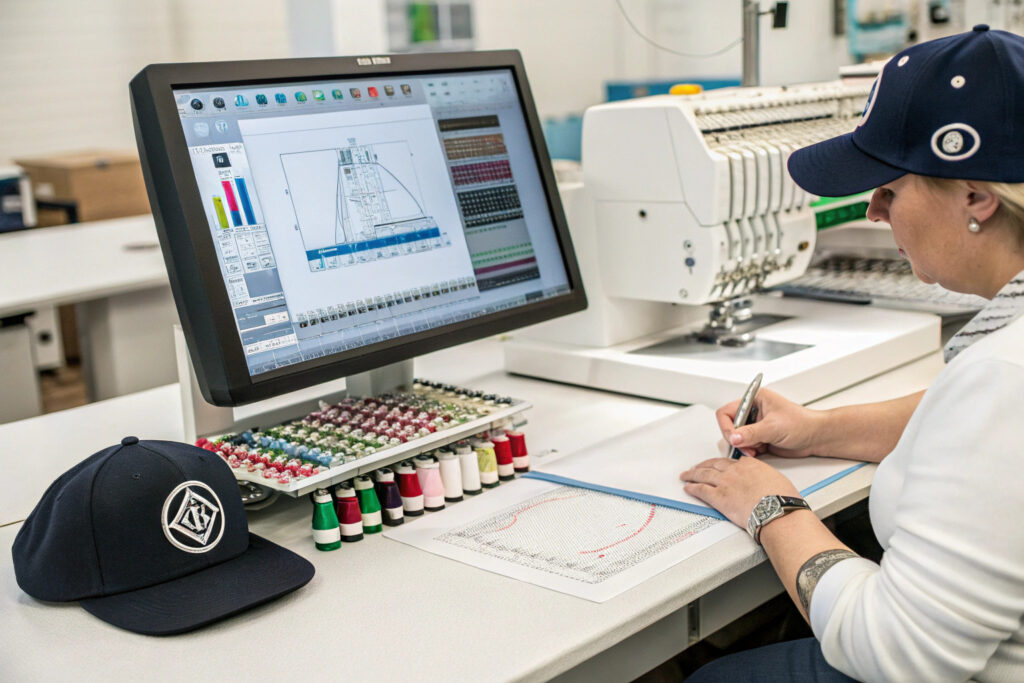
You send your logo. It is a JPEG pulled from your website. The factory says "No problem." The sample arrives. The logo is a blurry mess. The letters are uneven. The outline is jagged. The thread is loose. You blame the embroidery machine. The machine is fine. The digitizing file was garbage. The factory used an auto-trace software on your low-resolution image. They spent 5 minutes. You paid for a sample that proves nothing. The factory is not a digitizer. They are a button-pusher.
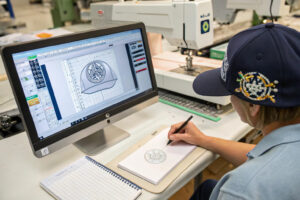
A custom hat factory should digitize your logo for precise embroidery stitching by using professional digitizing software operated by an experienced digitizer who understands cap-specific stitch physics. The process starts with your vector artwork. The digitizer manually maps the stitch types, the stitch directions, the underlay stitches, the pull compensation, and the density for each element of your logo. The file is then test-sewn on the actual cap fabric. Adjustments are made based on the sew-out. The final digitized file is locked and version-controlled. This process takes 30 to 90 minutes of skilled labor. It is not a software button click.
At Global-Caps, my head digitizer has 15 years of cap-specific experience. He does not use auto-trace. He maps every stitch by hand. The embroidery result is sharp, consistent, and durable. The file is the intellectual property of the client.
Why Is Vector Artwork Critical for Clean Embroidery Digitizing?
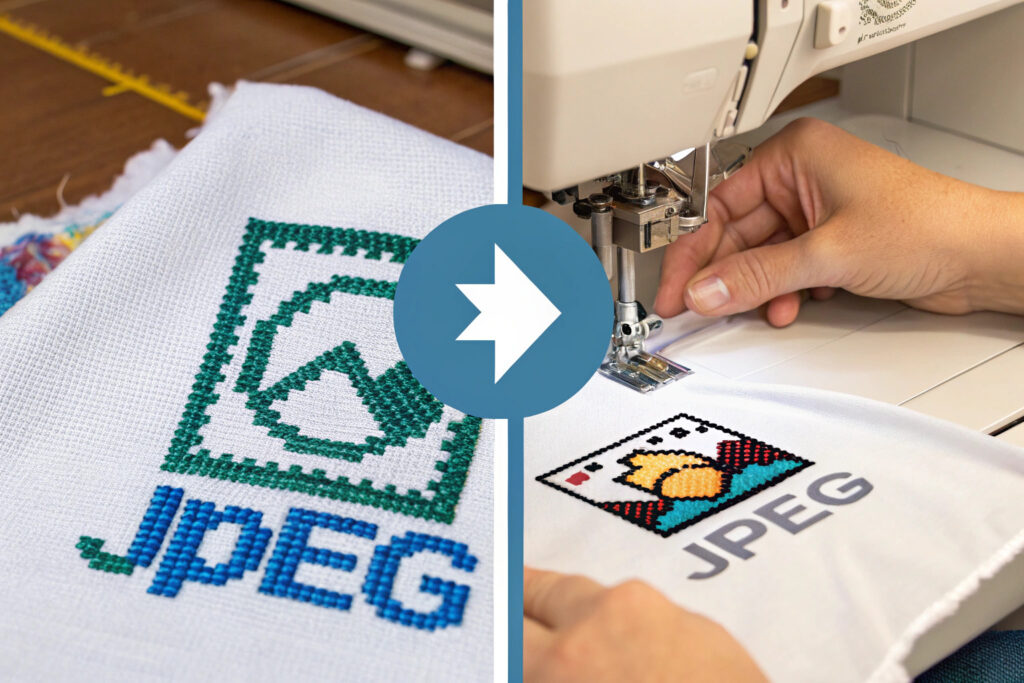
You have a logo. It looks sharp on your screen. It is a 72 DPI JPEG, 400 pixels wide. You email it. The digitizer opens it. The edges are stair-stepped. The digitizer has two choices. Trace the fuzzy edges and produce a fuzzy stitch-out. Or redraw the logo as vector art and charge you for the redraw. The factory that does not ask for vector art is the factory that traces the pixels.
Vector artwork is critical for clean embroidery digitizing because vector files define artwork as mathematical curves, not colored pixels. A curve can be scaled infinitely without quality loss. The digitizing software imports vector paths directly as stitch boundaries. The stitch path follows a precise, smooth mathematical line. A raster image like a JPEG or PNG requires manual tracing or auto-tracing, both of which introduce inaccuracy and noise into the stitch file.
I require vector artwork in AI, EPS, SVG, or PDF format. If the client only has a JPEG, I offer a professional redraw service.
The file format requirements are non-negotiable for professional results.
What File Formats Should You Send for a Lossless Logo Transfer?
The acceptable file formats are AI (Adobe Illustrator), EPS (Encapsulated PostScript), SVG (Scalable Vector Graphics), and PDF with preserved vector layers. These formats store the artwork as paths, not pixels. The digitizer opens the file, assigns stitch types to each path, and generates the machine code.
A high-resolution PNG at 300 DPI is acceptable for simple logos but still requires manual tracing. A low-resolution JPEG is not acceptable.
I provide a file format guide to all new clients.
How Do Digitizers Convert Serif Fonts Into Stitchable Paths?
Serif fonts have thin strokes and small details. At small embroidery sizes, these details disappear or merge into a solid blob. The digitizer must modify the font geometry to accommodate the physical thickness of the embroidery thread.
The digitizer increases the width of thin strokes to a minimum of 0.8 millimeters. They simplify serifs that are too small to resolve. They adjust the letter spacing to prevent thread buildup between adjacent letters. The result is a legible, clean text that is faithful to the brand font but optimized for thread.
My digitizer manually adjusts every text element. The font is not a direct conversion. It is an interpretation.
What Are Underlay Stitches and How Do They Stabilize a Cap Logo?
You see the top stitches. They are beautiful. You don't see the underlay. You don't know it exists. The factory skips the underlay to save time. The sample looks fine. You approve it. You wash the cap once. The stitches sink into the fabric. The logo loses its definition. The edges curl. The cap looks old after one wash. The missing underlay just destroyed your logo.
Underlay stitches are the hidden stitches sewn onto the fabric before the visible top stitches. They stabilize the fabric by tacking it to the backing. They create a raised platform that lifts the top stitches above the fabric surface. They prevent the top stitches from sinking into the fabric pile. On a curved cap crown, underlay stitches control the fabric stretch and prevent distortion of the logo shape during the embroidery cycle.
I use three underlay types: edge walk, zigzag, and center run. The combination depends on the logo size and the fabric type.
The underlay is the foundation. Without it, the top stitches fail.
How Does Edge Walk Underlay Prevent Logo Edge Distortion?
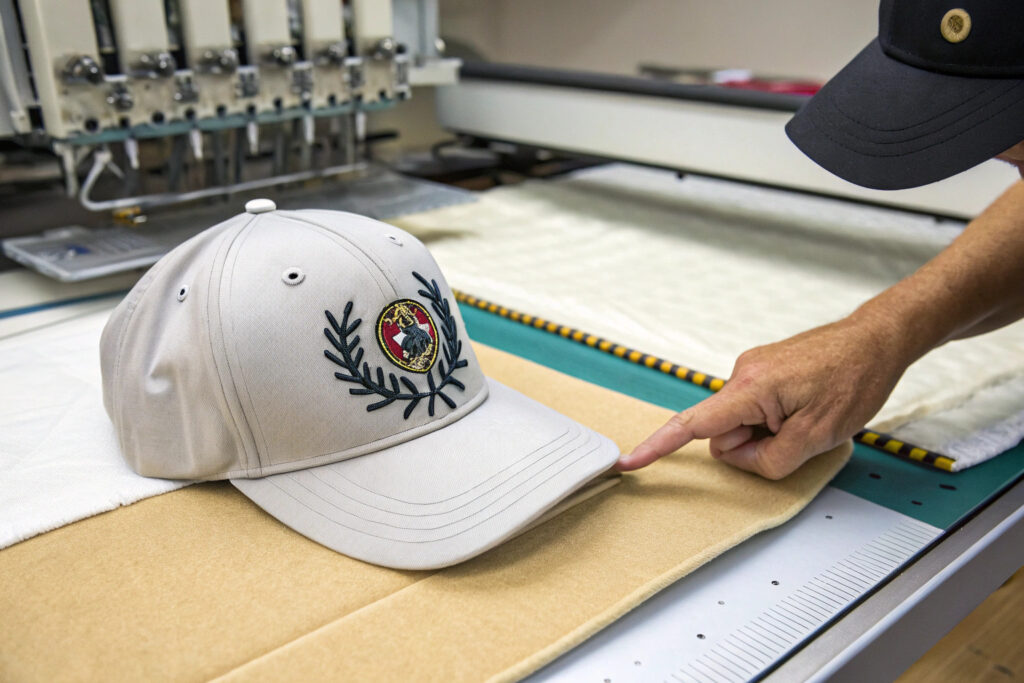
Edge walk underlay is a single running stitch that traces the outline of the logo element, just inside the boundary of the top stitch. It tacks the fabric down at the exact edge where the top stitch will sit. This prevents the fabric from pushing outward as the dense top stitches are sewn.
Without edge walk underlay, the top stitches push the fabric fibers apart. The logo edges become wavy and undefined.
My digitizer includes edge walk underlay on every satin stitch element.
Why Is Zigzag Underlay Used for Large Satin Fill Areas?
Zigzag underlay is a wide, low-density zigzag stitch that covers the interior of a large satin fill area. It provides broad-area stabilization. It creates a uniform platform for the dense satin top stitches. It prevents the fabric from puckering in the center of large filled letters.
Without zigzag underlay, large satin areas cup inward. The cap fabric pulls tight. The logo looks concave.
I use zigzag underlay for any satin element wider than 3 millimeters.
How Do Pull Compensation and Stitch Density Affect the Final Look?
You approve the digital mockup. The logo measures 50 millimeters wide on screen. The sew-out arrives. The logo measures 47 millimeters. The lettering looks squashed. The proportions are wrong. You measure it. The digitizer did not apply pull compensation. The thread tension pulled the fabric inward. The computer file was correct. The physical reality was different.
Pull compensation corrects the inward pull of the fabric caused by thread tension. The digitizer adds a small extra width to the stitch file, typically 0.2 to 0.5 millimeters, so that the finished stitch measures exactly the desired dimension after the fabric contracts. Stitch density affects how much the thread reflects light and how the logo feels to the touch. A density of 0.4 millimeters between stitch lines is standard for satin stitches. A higher density creates a heavier, shinier look. A lower density creates a lighter, more textured look.
My digitizer sets pull compensation for each fabric type. Cotton twill pulls more than polyester mesh.
The stitch density is measured in stitches per inch or as a spacing value.
Why Does Cap Curvature Require Different Pull Compensation Than Flat Fabric?
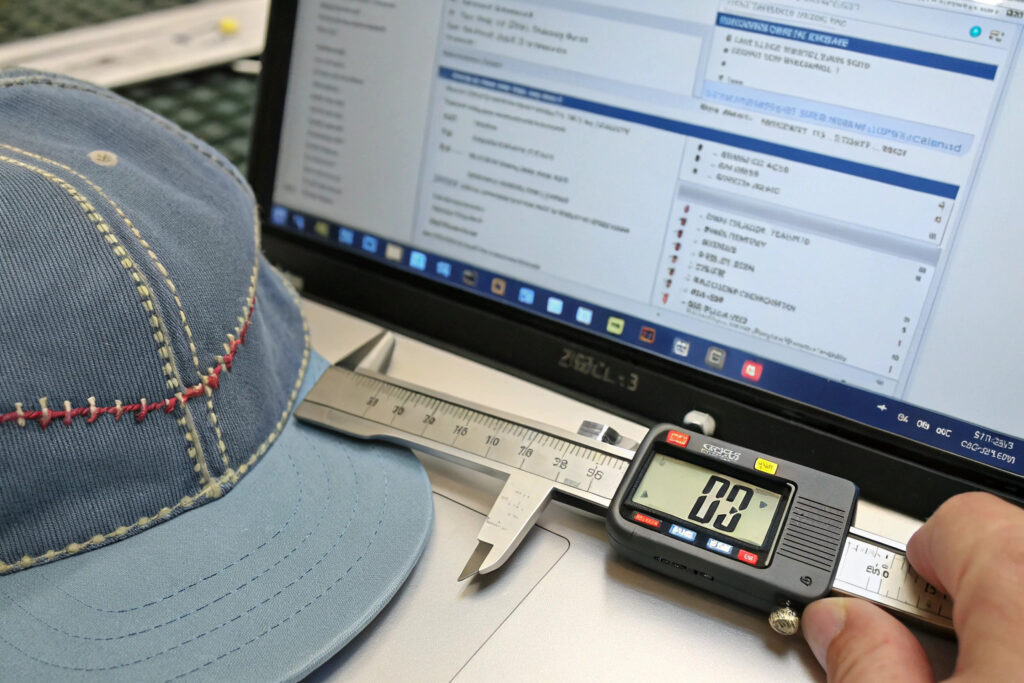
A baseball cap crown is a curved surface. The fabric is stretched over a buckram backing. The embroidery machine hoop clamps the curved panel. The needle penetrates at an angle that varies across the logo area. The center of the crown is higher than the edges. The pull compensation must be adjusted dynamically.
A logo on a flat jacket back requires uniform pull compensation. The same logo on a cap crown requires center-out pull compensation where the compensation factor increases toward the edges.
My digitizer uses cap-specific settings in the software. The curvature is mapped.
How Does Stitch Density Control the "Sheen" of the Finished Thread?
The sheen is the light reflection off the thread surface. A higher stitch density packs the threads closer together, creating a flatter, more reflective surface. A lower density allows individual threads to stand slightly apart, creating a more matte, textured surface.
A premium satin stitch for a luxury brand uses a density of 0.35 to 0.4 millimeters for maximum sheen. A casual brand might specify 0.45 to 0.5 millimeters for a softer look.
I test the stitch density on a sew-out sample. The client approves the sheen before bulk production.
What Is a Sew-Out Approval and Why Is It the Final Quality Gate?
The digitizing file is complete. The factory loads it onto the machine. They produce 5,000 caps. They ship them. You open the carton. The logo is too low. It is hidden by the visor curve. The factory used the digitized file, but they used the wrong hooping jig. The placement was off. The digitizing was correct. The production setup was wrong. There was no sew-out approval to catch the error.
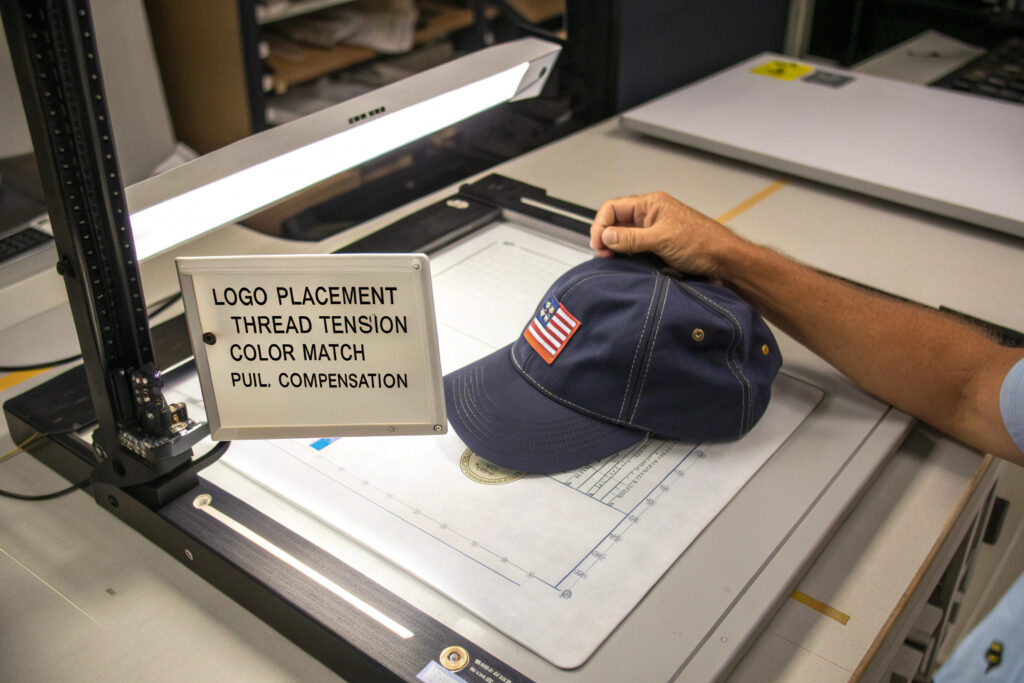
A sew-out approval is a physical sample of the embroidered logo sewn on the actual bulk cap body using the actual bulk thread and the actual hooping jig. The client inspects the sew-out for logo placement, color accuracy, stitch quality, and dimensional accuracy. The client signs off on the sew-out. The sew-out becomes the master reference standard for the bulk production run.
I require sew-out approval for every new logo and every reorder with a design change.
The sew-out is photographed with a ruler for dimensional reference.
How Should You Measure Logo Placement on a Sew-Out Sample?
The measurement is taken from two reference points. The horizontal reference is the center front seam of the cap crown. The vertical reference is the visor stitch line or the bottom edge of the front panel. The distance from the center seam to the left edge of the logo and to the right edge of the logo must be equal within 1.5 millimeters. The distance from the visor stitch line to the bottom of the logo must match the approved spec within 1.5 millimeters.
The sew-out photograph includes a clear ruler aligned with these reference points.
My QC team uses a laser-cut acrylic placement template for every logo.
What Are the Acceptable Thread Break and Tension Defect Limits?
A thread break is a visible knot or cut end on the top surface of the embroidery. A tension defect is a visible bobbin thread pulled to the top surface, or a top thread pulled to the underside. The acceptable limit for thread breaks on a sew-out sample is zero. The acceptable limit for tension defects is zero.
The sew-out must be flawless. It represents the standard that 5,000 caps must match.
I reject any sew-out with a visible defect. The digitizing file is adjusted. The sew-out is repeated.
Conclusion
A custom hat factory should digitize your logo through a skilled, manual process that respects the physics of thread, fabric, and cap curvature. The process starts with vector artwork. The digitizer manually maps stitch types, underlay stitches, pull compensation, and stitch density. The file is test-sewn on the actual cap fabric. The sew-out is inspected for placement, color, dimensional accuracy, and defects. The client approves the sew-out. The approved file is locked and version-controlled.
Vector artwork is non-negotiable. Underlay stitches are the hidden foundation that prevents edge distortion and fabric puckering. Pull compensation corrects the physical contraction of fabric under thread tension. Stitch density controls the sheen and texture. The sew-out approval is the final quality gate that validates all digitizing decisions against the physical reality of the cap.
At Global-Caps, my head digitizer has 15 years of cap-specific experience. He does not use auto-trace software. He maps every stitch by hand. The underlay is engineered. The pull compensation is calibrated. The sew-out is inspected to a zero-defect standard. The result is a logo that is sharp, consistent, and durable.
If you need your logo digitized and embroidered with precision on custom caps, contact my Business Director Elaine. She can provide a digitizing quote from your vector artwork and arrange a sew-out sample for your approval. Email Elaine at elaine@fumaoclothing.com. Let's stitch your logo perfectly.